前回、

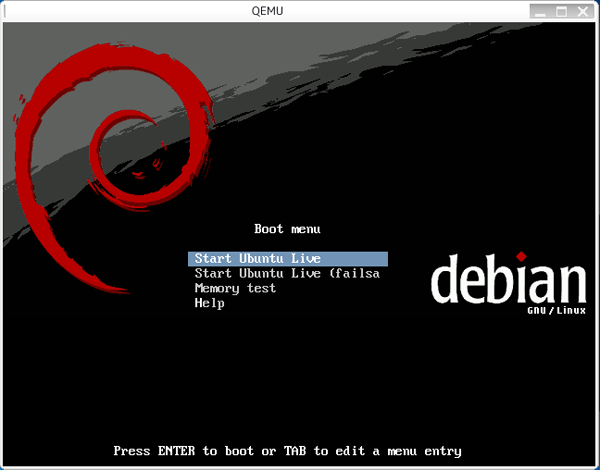
Ubuntu LiveなのにDebianの画面ですね。live-helperを使ったUbuntu Live作成の2回目はlive-helperのカスタマイズについて解説します。
live-helperカスタマイズの基礎知識
カスタマイズの解説の前にlive-helperの基礎知識を説明してから、
live-helperの設定はlh_
$ lh_config --help lh_
ライブシステムを構築するlh_
configディレクトリには設定ファイル以外に
他にincludesとtemplatesというディレクトリがありますが、
ライブシステムをカスタマイズをする
それでは場面別にライブシステムカスタマイズの解説をします。
Ubuntuモードとリリースの設定
live-helperのモード初期設定はDebianなので、
$ lh_config --mode "ubuntu"作成するディストリビューションのリリースは、
$ lh_config --distribution "Karmic"ミラーサイトとパッケージセクションの設定
パッケージを取得するミラーサイトを指定します。初期設定ではarchive.
 $ lh_config --mirror-bootstrap "http://jp.archive.ubuntu.com/ubuntu/"
 $ lh_config --mirror-chroot "http://jp.archive.ubuntu.com/ubuntu/"
 $ lh_config --mirror-chroot-security "http://security.ubuntu.com/ubuntu/"
 $ lh_config --mirror-binary "http://jp.archive.ubuntu.com/ubuntu/"
 $ lh_config --mirror-binary-security "http://security.ubuntu.com/ubuntu/"
パッケージのセクションは初期設定では自由に再配布ができるmainとuniverseが設定されます。例ではrestrictedとmultiverseも指定していますが、
$ lh_config --categories "main restricted universe multiverse"パッケージのインストール
パッケージのインストールはlh_
$ lh_config --packages "パッケージ名 …"インストールするパッケージが多い場合は、
--tasksオプションを使うとタスクを指定して一度にパッケージをインストールできます。タスク名も列挙できます。
$ lh_config --tasks "タスク名 …"タスク名はtaskselコマンドで調べられます。
$ tasksel --list-tasks次のようにタスクを指定するとUbuntuインストールCDと同じパッケージ構成のライブシステムが作成できます。
$ lh_config --tasks "ubuntu-desktop ubuntu-live"自作のdebパッケージをインストールするには
自作debパッケージをライブシステムにインストールするには、
初期設定ではSecure Aptが有効になっているので、
$ lh_config --apt-secure disableカーネルパッケージをインストールするには
カーネルパッケージのインストールは、
$ lh_config --linux-pakges "(カーネル名)" --linux-flavours "(フレーバー)"PAEが有効なカーネル(linux-image-pae)をインストールするには次のようにします。
$ lh_config --linux-pakges "linux-image" --linux-flavours "generic-pae"kernel-packageのmake-kpkgを利用して作成した自作カーネルパッケージもインストールできます。インストールをするにはカーネルのdebパッケージをconfig/
キーリングを指定する
GPG鍵がキーリングパッケージの形で配布されている場合は、
$ lh_config --keyring-packages "キーリングパッケージ名 …"Aptリポジトリの追加
Aptリポジトリを追加するには、
追加したAptリポジトリからのパッケージインストールにGPG鍵が必要な場合は、
Ubuntu Japanese Teamのリポジトリ追加を例に説明します。
config/chroot_sources/ディレクトリに入ります。

 $ cd config/chroot_sources/

wgetでUbuntu Japanese TeamのリポジトリリストとGPG鍵をダウンロードします。

 config/chroot_sources$ wget https://www.ubuntulinux.jp/sources.list.d/karmic.list
 config/chroot_sources$ wget https://www.ubuntulinux.jp/ubuntu-ja-archive-keyring.gpg
 config/chroot_sources$ wget https://www.ubuntulinux.jp/ubuntu-jp-ppa-keyring.gpg

ダウンロードしたリポジトリリストとGPG公開鍵の拡張子を.chrootと.chroot.gpgに変更します。

 config/chroot_sources$ mv karmic.list karmic.list.chroot
 config/chroot_sources$ mv ubuntu-ja-archive-keyring.gpg ubuntu-ja-archive-keyring.chroot.gpg
 config/chroot_sources$ mv ubuntu-jp-ppa-keyring.gpg ubuntu-jp-ppa-keyring.chroot.gpg
これで--pacakgesオプションを使ってUbuntu Japanese Teamのパッケージがインストールできます。
ライブシステムにファイルを追加
ライブシステムの中にファイルを追加するには、
 $ mkdir -p config/chroot_local-includes/usr/share/backgrounds/
 $ cp wallpaper.jpg config/chroot_local-includes/usr/share/backgrounds/
ブートローダーとスプラッシュ画面の変更
ブートローダーにSyslinuxかGrub(1)を選択できます。UbuntuのインストールCDで使われているGfxbootはまだ対応していません。
$ lh_config --bootloader "grub"スプラッシュスクリーンはDebian用しか用意されていないので、
 $ lh_config --grub-splash "config/binary_grub/splash.png"
 $ lh_config --syslinux-splash "config/binary_syslinux/splash.png"
LXDEを使った軽量デスクトップの作成
一通り設定を解説したところで、
ライブシステム作成を自動化する
lh_
自動化は、
scripts/config
scripts/
#!/bin/sh

MIRROR_UBUNTU="http://jp.archive.ubuntu.com/ubuntu/"
MIRROR_SECURITY="http://security.ubuntu.com/ubuntu/"

lh_config noautoconfig \
        --mode ubuntu \
        --distribution karmic \
        --language ja \
        --mirror-binary ${MIRROR_UBUNTU} \
        --mirror-binary-security ${MIRROR_SECURITY} \
        --mirror-bootstrap ${MIRROR_UBUNTU} \
        --mirror-chroot ${MIRROR_UBUNTU} \
        --mirror-chroot-security ${MIRROR_SECURITY} \
        --categories "main restricted universe multiverse" \
${@}scripts/build
scripts/
#!/bin/sh

lh_build noautoconfig 2>&1 | tee binary.buildlogscripts/clean
scripts/
#!/bin/sh

lh_clean noautoconfig --all ${@}

# Remove generated files
rm -f config/binary config/bootstrap config/chroot config/common config/source

# Remove empty directories in config tree
if ls config/*/ > /dev/null 2>&1
then
        rmdir --ignore-fail-on-non-empty config/*/
fi

if [ -d config ]
then
        rmdir --ignore-fail-on-non-empty config
fi
Makefile
Makefileにはscriptsディレクトリのスクリプトを呼び出すためのlh_
BOOTOPTION_LIVE = quiet splash debian-installer/language=ja console-setup/layoutcode?=jp console-setup/modelcode?=jp106

all: config build

config: clean
        lh_config \
        --bootloader grub \
        --binary-images iso \
        --bootappend-live "$(BOOTOPTION_LIVE)" \
        --packages "lxde language-pack-ja language-support-ja usplash-theme-ubuntu ubiquity-frontend-gtk gparted"

build:
        sudo lh_build

clean:
        sudo lh_clean
        sudo rm -f *.buildlog
これでmake一発でライブシステムが作成できるようになりました。不要なファイルもmake cleanで削除できるので、
さて、
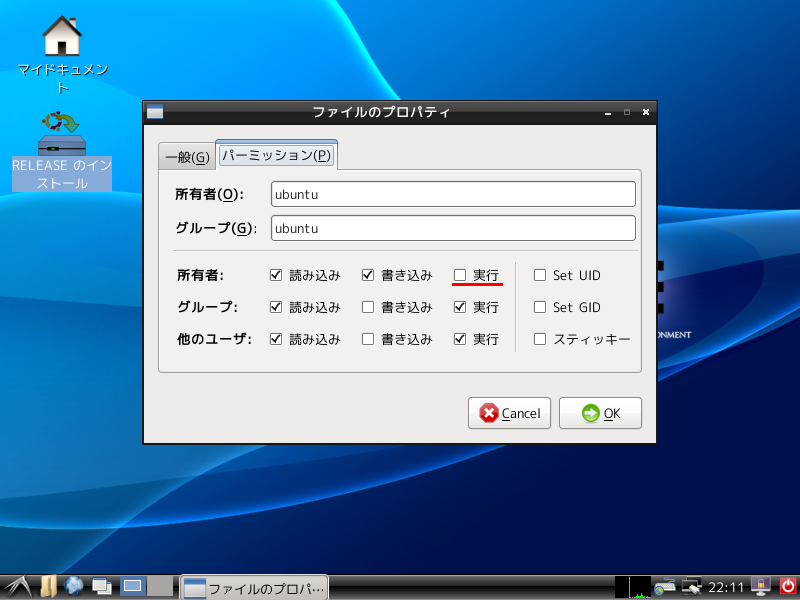
変わっているところは、
ただ、

USBメモリから起動するライブシステムを作るには
最近のライブシステムはCD/
バイナリイメージをISOイメージで作成した場合、
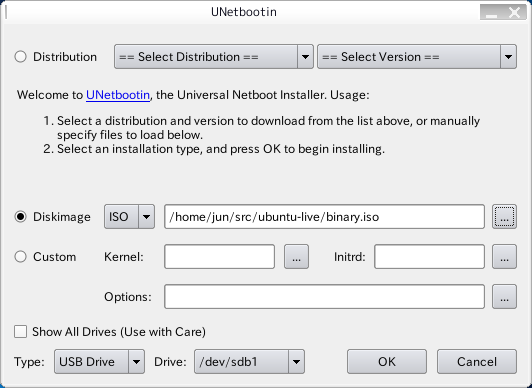
$ sudo apt-get install unetbootin unetbootin-translationsUSBメモリをセットしてUNetBootinを起動します。Diskimageに作成したライブISOイメージファイル(binary.

あらかじめUSBメモリに書き込んで使うつもりなら、
lh_
$ lh_config --binary-images usb-hddImage WriterもAptを使ってインストールできます。
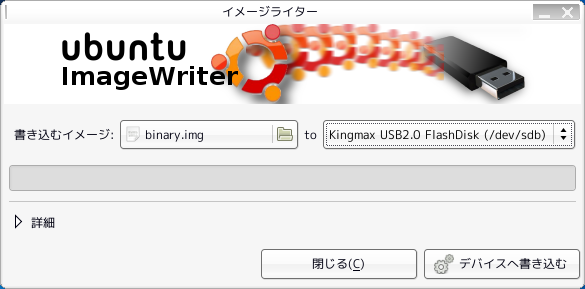
$ sudo apt-get install usb-imagewriterバイナリイメージの書き込みは、

最後に
2回にわたりlive-helperを使ったUbuntu Liveの作成を解説しましたがいかがでしたでしょうか。
かけ足で解説したので説明の足りない部分も多いと思いますが、


