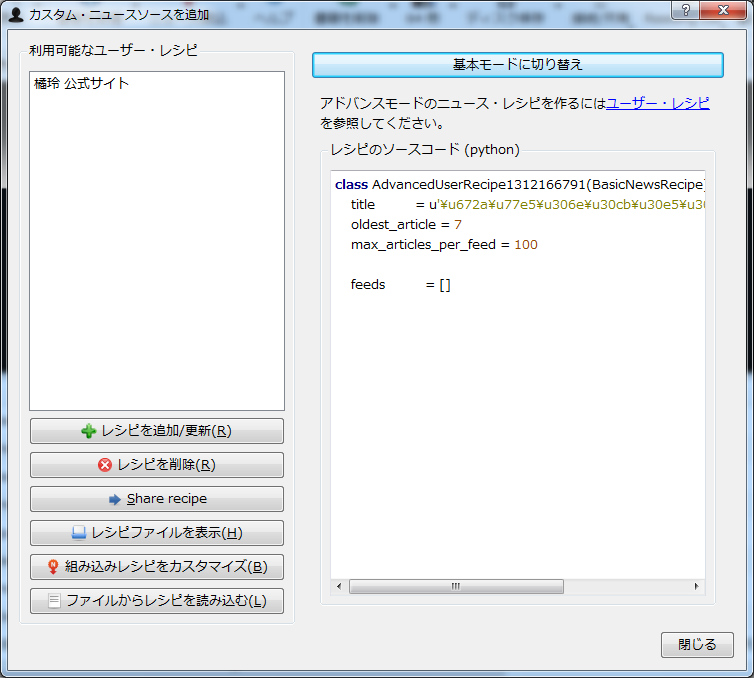
自分でニュースソースを追加する(その2)
今回は前回の続きで、
新しいレシピを作成するには、

前回も少し言及しましたが、
レシピの処理全体の流れを大まかに説明すると、
- ログイン等を行う
- 記事のインデックスを取得する
- 各記事を取得する
- 記事HTMLを修正する
順を追って説明していきましょう。
1:(必要な場合)ログイン等を行う
get_
2:記事のインデックス(一覧)を取得する
parse_
    #links to RSS feeds
    feeds = [ ('gihyo.jp', u'http://gihyo.jp/feed/atom') ]
そのため今回は、
3:各記事を取得する
各記事の取得もBasicNewsRecipeクラスが自動でやってくれるのですが、
    #load second and subsequent page content
    # in: soup - full page with 'next' button
    # out: appendtag - tag to which new page is to be added
    def append_page(self, soup, appendtag):
        # find the 'Next' button
        nextButton = soup.find(attrs={'rel':'next'})

        if nextButton:
            nexturl = nextButton['href']
            soup2 = self.index_to_soup(nexturl)
            print " fetching next url : " + nexturl

            contents = soup2.find('div', attrs={'class':'readingContent01 autopagerize_page_element'})

            pos = len(appendtag.contents)
            appendtag.insert(pos, contents)

            self.append_page(soup2, appendtag)

    def preprocess_html(self, soup):
        contents = soup.find('div', attrs={'class':'readingContent01 autopagerize_page_element'})
        self.append_page(soup, contents)

        return soup
4:記事HTMLを修正する
取得した記事には広告や、
    remove_tags_before = dict(name='div', attrs={'id':['content']})

    remove_tags = [
                      dict(name='div', attrs={'class':['pageSwitch01']}),
                      dict(name='div', attrs={'id':['socialBookmark']}),
                      dict(name='div', attrs={'class':['pageSwitch01 autopagerize_insert_before']})
                  ]

    remove_tags_after = [
                      dict(name='div', attrs={'id':['relArticle']})
                  ]
仕上げ
あとは、
class Gihyo(BasicNewsRecipe):
    title                 = u"gihyo.jp"
    __author__            = 'Ado Nishimura'
    description           = u"gihyo.jp new articles"
    language              = 'ja'
    no_stylesheets        = True
    remove_javascript     = True
    use_embedded_content  = False
    cover_url             = 'http://image.gihyo.co.jp/assets/templates/gihyojp2007/image/header_logo_gihyo.gif'
これで、
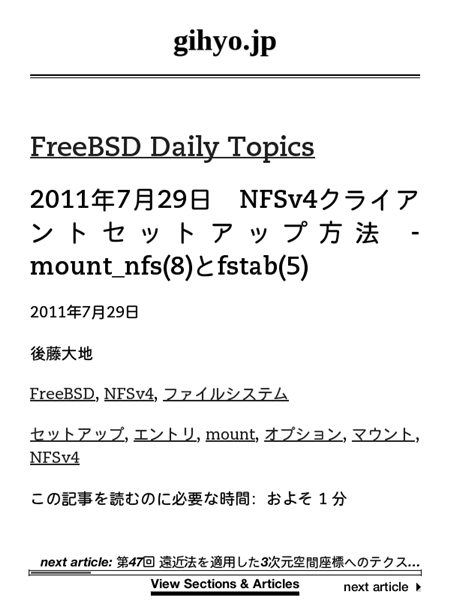
これをCalibreで実行すると、

TIPS:レシピをコマンドラインからデバッグする
さて、
ebook-convert gihyo.recipe .mobi --test -vv -ddebug
ebook-convertは電子書籍のフォーマットをコンバートするためのコマンドライン・
TIPS 2:自作のレシピをCalibreと一緒に配布してもらう
自分で作ったレシピが、


