


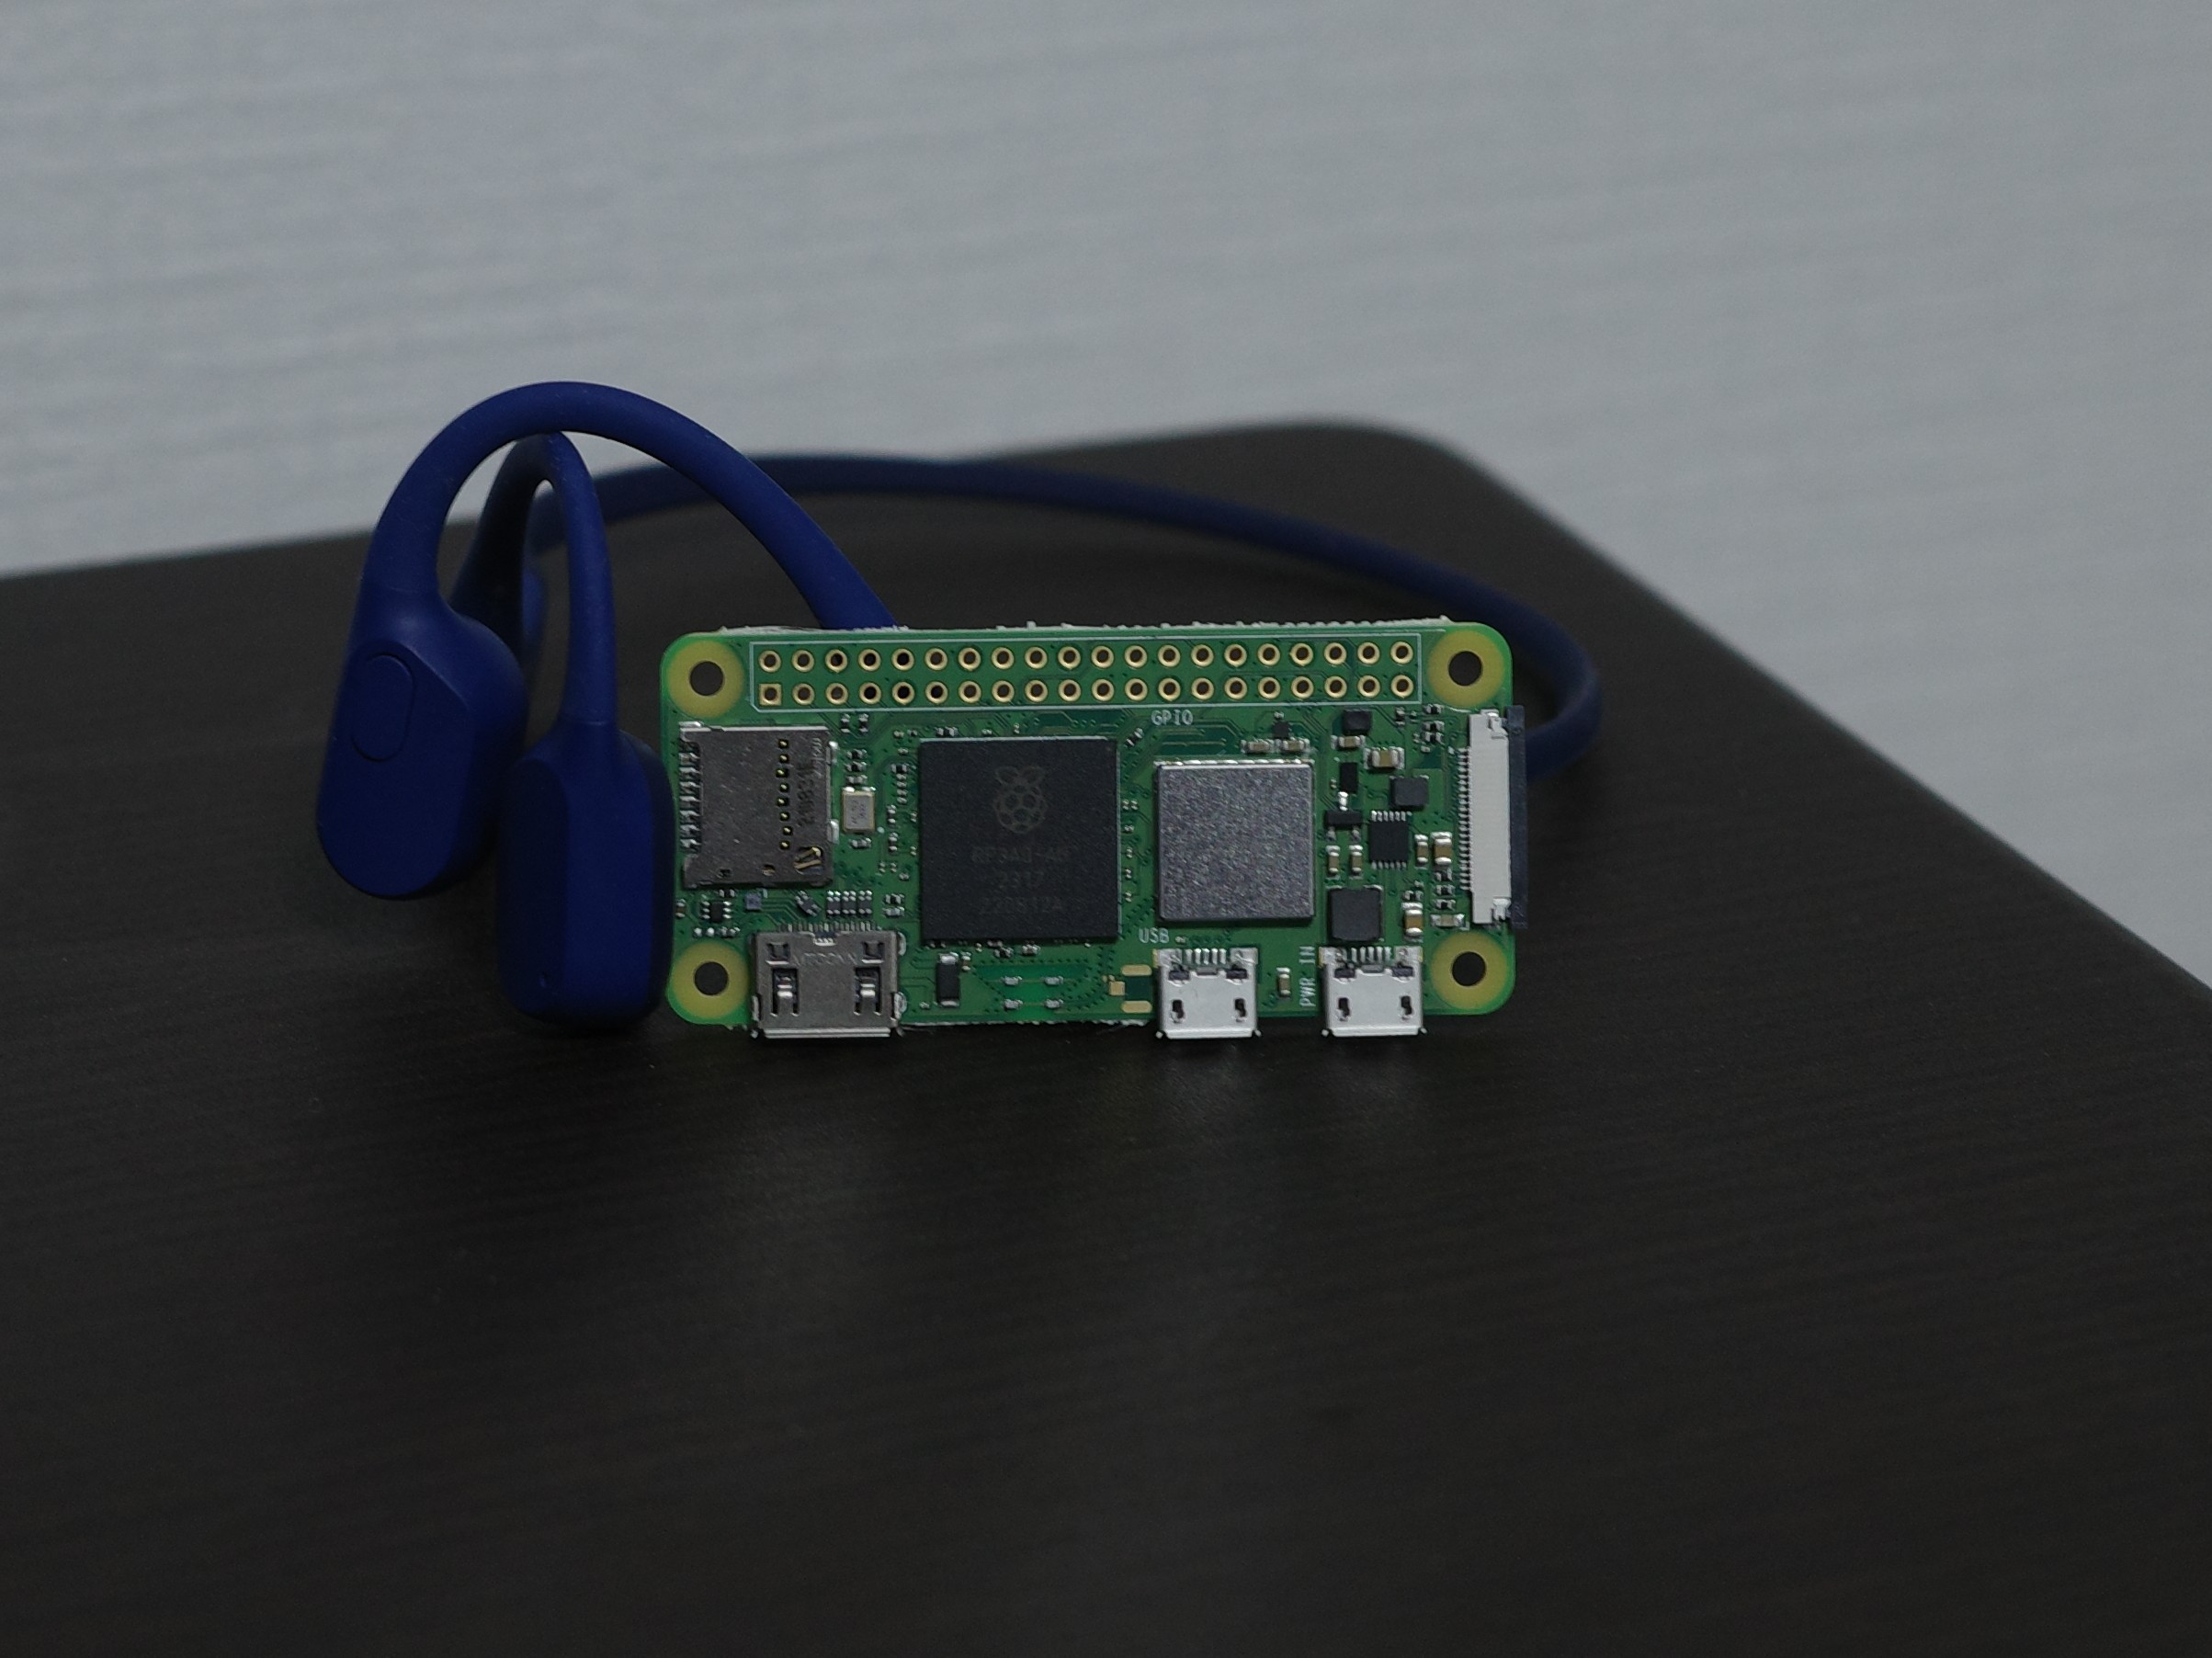
第777回では、Raspberry Pi Zero 2 WにUbuntuをインストールする方法を紹介しました。その際に、
Raspberry PiのBluetooth対応
第777回では、Ubuntuを起動してもBluetoothデバイスが見えないという話をしました。
$ bluetoothctl show
何も表示されない
実はこれは
Ubuntuに限らず、Raspberry Pi系のOSの場合、Bluetoothデバイスの認識はpi-bluetoothパッケージに含まれる各種スクリプトを使っています。具体的にはhciuart.がそれを担っており、このサービスはbtuartスクリプトを利用して、DeviceTreeのデータを元にhciattachコマンドが実行され、適切な設定やファームウェアのロードが行われます[1]。
しかしながら、このhciattachが場合によって成功したり・hciuart.の起動が失敗し、それに依存しているbluetooth.が起動せず、Bluetooth系のコマンドが動かないことになります。systemctl status hciuart.すると、次のようにエラーが残っていることがわかります。
$ systemctl status hciuart.service
× hciuart.service - Configure Bluetooth Modems connected by UART
     Loaded: loaded (/lib/systemd/system/hciuart.service; enabled; vendor preset: enabled)
     Active: failed (Result: exit-code) since Sun 2023-09-10 16:53:33 JST; 5min ago
    Process: 667 ExecStart=/usr/bin/btuart (code=exited, status=1/FAILURE)
        CPU: 264ms

 9月 10 16:53:07 zero2 systemd[1]: Starting Configure Bluetooth Modems connected by UART...
 9月 10 16:53:33 zero2 btuart[704]: Initialization timed out.
 9月 10 16:53:33 zero2 btuart[704]: bcm43xx_init
 9月 10 16:53:33 zero2 btuart[704]: Flash firmware /lib/firmware/brcm/BCM43430A1.hcd
 9月 10 16:53:33 zero2 btuart[704]: Set BDADDR UART: b8:27:eb:7d:e2:48
 9月 10 16:53:33 zero2 btuart[704]: Set Controller UART speed to 3000000 bit/s
 9月 10 16:53:33 zero2 systemd[1]: hciuart.service: Control process exited, code=exited, status=1/FAILURE
 9月 10 16:53:33 zero2 systemd[1]: hciuart.service: Failed with result 'exit-code'.
 9月 10 16:53:33 zero2 systemd[1]: Failed to start Configure Bluetooth Modems connected by UART.
そんなこともあって、最近のRaspberry Piカーネルではhciattachを使わずに、カーネルモジュール側で初期設定を行うよう変更されました。実は元々そういう仕組みは存在したのですが、初期設定ではオフになっていたものを、いくつか手を加えてオンにしたというものです。Ubuntuのカーネルでも、/boot/において次のようにdtparam=krnbt=on」
$ echo "dtparam=krnbt=on" | sudo tee -a /boot/firmware/config.txt
$ tail -n5 /boot/firmware/config.txt
# such a board)
dtoverlay=dwc2,dr_mode=host

[all]
dtparam=krnbt=on
DeviceTree用の設定であるdtparam」krnbt=on」bcm2710-rpi-zero-2-w.から読み込まれているbcm2708-rpi-bt.」brcm,bcm43438-bt」
これによりdmesgコマンドで表示できるカーネルのログメッセージに、次のようなログが残されるようになります。
[   15.935014] hci_uart_bcm serial0-0: supply vbat not found, using dummy regulator
[   15.935255] hci_uart_bcm serial0-0: supply vddio not found, using dummy regulator
[   16.291455] Bluetooth: hci0: BCM: chip id 94
[   16.291903] Bluetooth: hci0: BCM: features 0x2e
[   16.293290] Bluetooth: hci0: BCM43430A1
[   16.293317] Bluetooth: hci0: BCM43430A1 (001.002.009) build 0000
[   16.296429] Bluetooth: hci0: BCM43430A1 'brcm/BCM43430A1.hcd' Patch
[   16.880046] Bluetooth: hci0: BCM43438A1 37.4MHz Raspberry Pi 3-0141
[   16.880085] Bluetooth: hci0: BCM43430A1 (001.002.009) build 0508
ちなみに、この場合であってもhciuart.は起動されます。ただしbtuartスクリプトで、次のようにdmesgをチェックしていることにより、常にhciuart.は成功することになります。
# Bail out if the kernel is managing the Bluetooth modem initialisation
if ( dmesg | grep -q -E "hci[0-9]+: BCM: chip" ); then
  # On-board bluetooth is already enabled
  exit 0
fi
またbluetooth.の/lib/では、次のようにディレクトリの存在をチェックしており、ドライバー側の設定でBluetoothコントローラーが設定されます。そのためhciuart.が何もしなくても無事に起動するのです。
$ grep Condition /lib/systemd/system/bluetooth.service
ConditionPathIsDirectory=/sys/class/bluetooth

$ ls /sys/class/bluetooth
hci0
これで常にBluetoothが使えるようになりました。
Bluetoothの動作確認
さて、無事にRaspberry Pi Zero 2 WのBluetoothコントローラーが動くようになったので、さっそく確認してみましょう。Bluetoothのソフトウェア実装としてBlueZを採用しているUbuntuでは、CLIからのBluetoothの操作はbluetoothctlコマンド」
$ bluetoothctl show
Controller D8:3A:DD:37:37:1E (public)
        Name: zero2
        Alias: zero2
        Class: 0x00000000
        Powered: yes
        Discoverable: no
        DiscoverableTimeout: 0x000000b4
        Pairable: no
        UUID: Generic Attribute Profile (00001801-0000-1000-8000-00805f9b34fb)
        UUID: Generic Access Profile    (00001800-0000-1000-8000-00805f9b34fb)
        UUID: PnP Information           (00001200-0000-1000-8000-00805f9b34fb)
        UUID: A/V Remote Control Target (0000110c-0000-1000-8000-00805f9b34fb)
        UUID: A/V Remote Control        (0000110e-0000-1000-8000-00805f9b34fb)
        UUID: Device Information        (0000180a-0000-1000-8000-00805f9b34fb)
        Modalias: usb:v1D6Bp0246d0540
        Discovering: no
        Roles: central
        Roles: peripheral
Advertising Features:
        ActiveInstances: 0x00 (0)
        SupportedInstances: 0x05 (5)
        SupportedIncludes: tx-power
        SupportedIncludes: appearance
        SupportedIncludes: local-name
電源の状態bluetoothctl listしてから表示されるBluetoothデバイスアドレスを元にbluetoothctl show Bluetoothデバイスアドレスと指定すると良いでしょう。
Bluetoothの場合、UUIDについては今のところ先頭の数字の末尾16ビットのみが重要です。つまり
さて、これだけを見ると普通のUbuntuマシンに比べてUUIDがいろいろ足りなさそうです。実はBluetoothのいくつかのプロファイルは、それ用のソフトウェアスタックを用意しないと使えません。たとえばBluetoothヘッドセットを使いたければ、PulseAudioとそれ用のBluetoothモジュールをインストールすることになります。必要なソフトウェアがないと、ペアリングしても接続しようとすると次のようにエラーになってしまいます。
$ bluetoothctl connect 20:74:CF:BC:96:A7
Attempting to connect to 20:74:CF:BC:96:A7
Failed to connect: org.bluez.Error.Failed br-connection-profile-unavailable
ちなみに第777回ではhcitoolコマンドを用いてコントローラーを表示していました。Linuxで広く使われているBluetoothのプロトコルスタックであるhciで始まるコマンドやsdptool、rfcommなどが使われていましたが、現在ではこれらはすべて非推奨扱いになっています。すべてが別のコマンドで置き換えられるわけではありませんが、インターネット上のドキュメントを読む際は注意しましょう。
サウンドデバイスとペアリングする
ここからは実際に、PulseAudioをインストールして、Raspberry Pi Zero 2 WとBluetoothヘッドフォンをペアリングしてみます。まずは前述したように、オーディオ系のソフトウェアスタックをインストールしましょう。
$ sudo apt install --no-install-recommends pulseaudio-module-bluetooth
今回はUbuntu 22.
また、Raspberry Pi Zero 2 Wの場合はストレージもWi-Fiも遅いため、インストールにはそれなりの時間がかかります。そこで上記のコマンドでは--no-install-recommends」
再起動が完了したら、もう一度コントローラーの設定を確認してみましょう。
$ bluetoothctl show
Controller B8:27:EB:7D:E2:48 (public)
        Name: zero3
        Alias: zero3
        Class: 0x006c0000
        Powered: yes
        Discoverable: no
        DiscoverableTimeout: 0x000000b4
        Pairable: no
        UUID: A/V Remote Control        (0000110e-0000-1000-8000-00805f9b34fb)
        UUID: Handsfree Audio Gateway   (0000111f-0000-1000-8000-00805f9b34fb)
        UUID: PnP Information           (00001200-0000-1000-8000-00805f9b34fb)
        UUID: Audio Sink                (0000110b-0000-1000-8000-00805f9b34fb)
        UUID: Headset                   (00001108-0000-1000-8000-00805f9b34fb)
        UUID: A/V Remote Control Target (0000110c-0000-1000-8000-00805f9b34fb)
        UUID: Generic Access Profile    (00001800-0000-1000-8000-00805f9b34fb)
        UUID: Audio Source              (0000110a-0000-1000-8000-00805f9b34fb)
        UUID: Generic Attribute Profile (00001801-0000-1000-8000-00805f9b34fb)
        UUID: Device Information        (0000180a-0000-1000-8000-00805f9b34fb)
        Modalias: usb:v1D6Bp0246d0542
        Discovering: no
        Roles: central
        Roles: peripheral
Advertising Features:
        ActiveInstances: 0x00 (0)
        SupportedInstances: 0x05 (5)
        SupportedIncludes: tx-power
        SupportedIncludes: appearance
        SupportedIncludes: local-name
どうやら無事に、
ここからはbluetoothctlコマンドを使ってペアリングを行います。今回使用するBluetoothデバイスの場合は、デバイス側でペアリングモードに入り、Raspberry Pi Zero 2 W側からスキャンして接続することになります。よってあらかじめ、Bluetoothデバイス側
$ bluetoothctl scan on
Discovery started
[CHG] Controller B8:27:EB:7D:E2:48 Discovering: yes
[NEW] Device DE:CD:2F:D3:FD:C3 EP-884A Series
(中略)
[NEW] Device 20:74:CF:BC:96:A7 Aeropex by AfterShokz
逆に自分自身を相手に見つけさせる場合はbluetoothctl discoverable on」
さて上記のようにスキャンを開始して目当てのデバイスが見つかれば、
$ bluetoothctl pair 20:74:CF:BC:96:A7
Attempting to pair with 20:74:CF:BC:96:A7
[CHG] Device 20:74:CF:BC:96:A7 Connected: yes
[DEL] Device DE:CD:2F:D3:FD:C3 EP-884A Series
[CHG] Device 20:74:CF:BC:96:A7 UUIDs: 00001108-0000-1000-8000-00805f9b34fb
[CHG] Device 20:74:CF:BC:96:A7 UUIDs: 0000110b-0000-1000-8000-00805f9b34fb
[CHG] Device 20:74:CF:BC:96:A7 UUIDs: 0000110c-0000-1000-8000-00805f9b34fb
[CHG] Device 20:74:CF:BC:96:A7 UUIDs: 0000110e-0000-1000-8000-00805f9b34fb
[CHG] Device 20:74:CF:BC:96:A7 UUIDs: 0000111e-0000-1000-8000-00805f9b34fb
[CHG] Device 20:74:CF:BC:96:A7 UUIDs: 00001200-0000-1000-8000-00805f9b34fb
[CHG] Device 20:74:CF:BC:96:A7 ServicesResolved: yes
[CHG] Device 20:74:CF:BC:96:A7 Paired: yes
Pairing successful
表示されるUUIDはデバイス側でサポートしているサービスです。これはbluetoothctl infoでも確認できます。
$ bluetoothctl devices
Device 20:74:CF:BC:96:A7 Aeropex by AfterShokz
$ bluetoothctl info 20:74:CF:BC:96:A7
Device 20:74:CF:BC:96:A7 (public)
        Name: Aeropex by AfterShokz
        Alias: Aeropex by AfterShokz
        Class: 0x00240418
        Icon: audio-headphones
        Paired: no
        Bonded: no
        Trusted: no
        Blocked: no
        Connected: no
        LegacyPairing: no
        UUID: Headset                   (00001108-0000-1000-8000-00805f9b34fb)
        UUID: Audio Sink                (0000110b-0000-1000-8000-00805f9b34fb)
        UUID: A/V Remote Control Target (0000110c-0000-1000-8000-00805f9b34fb)
        UUID: A/V Remote Control        (0000110e-0000-1000-8000-00805f9b34fb)
        UUID: Handsfree                 (0000111e-0000-1000-8000-00805f9b34fb)
        UUID: PnP Information           (00001200-0000-1000-8000-00805f9b34fb)
        Modalias: bluetooth:v000ApFFFFdFFFF
Audio Sinkが存在しますね。次にデバイスに接続します。
$ bluetoothctl connect 20:74:CF:BC:96:A7
Attempting to connect to 20:74:CF:BC:96:A7
[CHG] Device 20:74:CF:BC:96:A7 Connected: yes
[CHG] Device 20:74:CF:BC:96:A7 Paired: yes
[NEW] Endpoint /org/bluez/hci0/dev_20_74_CF_BC_96_A7/sep2
[NEW] Endpoint /org/bluez/hci0/dev_20_74_CF_BC_96_A7/sep1
[NEW] Transport /org/bluez/hci0/dev_20_74_CF_BC_96_A7/sep1/fd0
Connection successful
おそらくデバイス側でも接続した旨の通知が行われるでしょう。たとえばAeropexだと、女性の声でbluetoothctl trustをしておくと、将来的に再接続が必要になったときの手順が楽になります。
$ bluetoothctl trust 20:74:CF:BC:96:A7
[CHG] Device 20:74:CF:BC:96:A7 Trusted: yes
Changing 20:74:CF:BC:96:A7 trust succeeded
最後にもPulseAudioで音声出力デバイスを確認しておきましょう。
$ pacmd list-sinks
1 sink(s) available.
  * index: 1
        name: <bluez_sink.20_74_CF_BC_96_A7.a2dp_sink>
        driver: <module-bluez5-device.c>
        flags: HARDWARE HW_VOLUME_CTRL DECIBEL_VOLUME LATENCY
        state: SUSPENDED
        suspend cause: IDLE
        priority: 9950
        volume: front-left: 52635 /  80% / -5.71 dB,   front-right: 52635 /  80% / -5.71 dB
                balance 0.00
        base volume: 65536 / 100% / 0.00 dB
        volume steps: 128
        muted: no
        current latency: 0.00 ms
        max request: 3 KiB
        max rewind: 0 KiB
        monitor source: 1
        sample spec: s16le 2ch 44100Hz
        channel map: front-left,front-right
                     Stereo
        used by: 0
        linked by: 0
        fixed latency: 45.32 ms
        card: 0 <bluez_card.20_74_CF_BC_96_A7>
        module: 22
        properties:
                bluetooth.protocol = "a2dp_sink"
                bluetooth.codec = "sbc"
                device.description = "Aeropex by AfterShokz"
                device.string = "20:74:CF:BC:96:A7"
                device.api = "bluez"
                device.class = "sound"
                device.bus = "bluetooth"
                device.form_factor = "headphone"
                bluez.path = "/org/bluez/hci0/dev_20_74_CF_BC_96_A7"
                bluez.class = "0x240418"
                bluez.alias = "Aeropex by AfterShokz"
                bluetooth.battery = "100%"
                device.icon_name = "audio-headphones-bluetooth"
        ports:
                headphone-output: Headphone (priority 0, latency offset 0 usec, available: unknown)
                        properties:

        active port: <headphone-output>
このように、接続したBluetoothデバイスが表示されていたら成功です。ちなみにnameからA2DPが使われていることもわかります。
もしどうしてもうまく接続できなくなったなら、次のようにPulseAudioの設定ファイルを削除して再起動してみてください。再度ペアリングの手順を踏むとうまく繋がることがあります。
$ rm -f ~/.config/pulse/*
CLIでの再生ツール
Bluetoothのオーディオデバイスを接続できたら、今度は再生です。CLIの音楽再生ツールとしては、昔からあるmpg123/
試しにWikipediaのオペラ
$ sudo apt install vorbis-tools
$ wget https://upload.wikimedia.org/wikipedia/commons/4/40/Toreador_song_cleaned.ogg
(snip)
2023-09-03 17:03:47 (1.11 MB/s) - ‘Toreador_song_cleaned.ogg’ saved [1702187/1702187]
$ ogg123 Toreador_song_cleaned.ogg

Audio Device:   PulseAudio Output

Playing: Toreador_song_cleaned.ogg
Ogg Vorbis stream: 2 channel, 44100 Hz
Album: Columbia-137 (1208)
Artist: Damrosch Orchestra
Title: Toreador Song (1903)

Done.
無事にニューヨーク交響楽団がDamrosch Orchestra名義で1903年に録音した
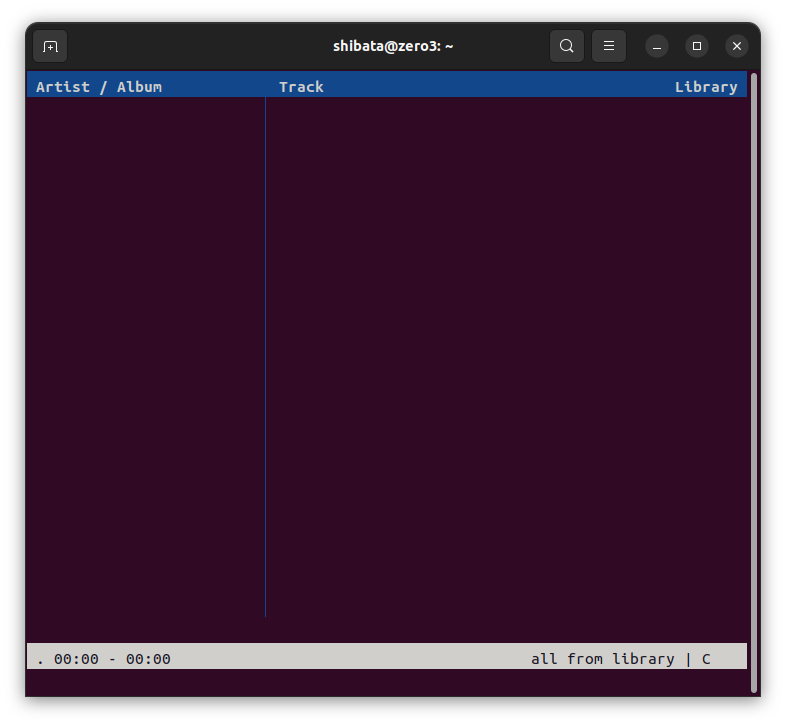
もう少しUIを備えたCLIのプレイヤーだとcmusやmocpが有名です。どちらもaptコマンドでインストールできます。今回はviライクな操作性を備えた、cmusをインストールして使ってみましょう。
$ sudo apt install cmus
cmusの使い方はman cmus」man cmus-tutorial」
$ cmus
まずは楽曲を登録するところからです。
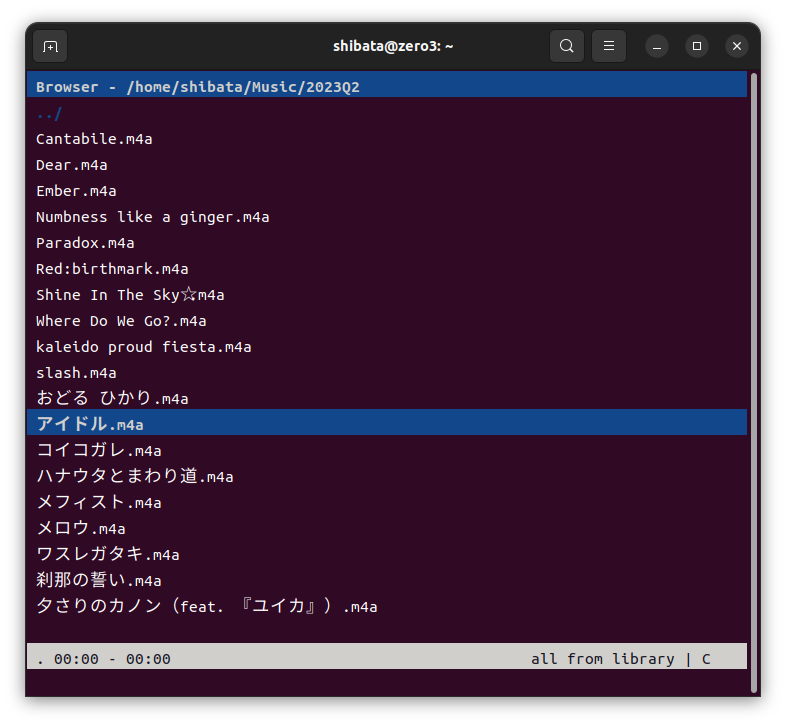
ここでライブラリに登録したい楽曲にカーソルを合わせて:save」~/.config/」
「1」
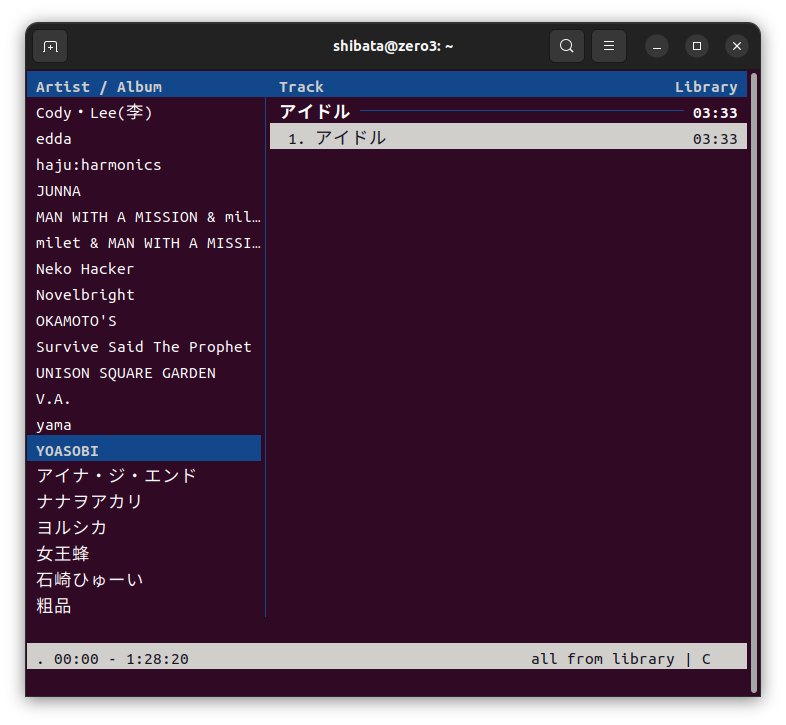
この状態でエンターキーを押すと順番に再生を開始します。右下の
一時停止は
cmusはプレイリストの作成などにも対応しています。本格的に使うなら、まずは前述のmanページを参照しましょう。
おまけ:ホスト名の変更
第777回では、/boot/」
このcloud-initは、その設定内容によっては起動のたびに毎回再設定が行われるものもあります。具体的にはcloud-initのモジュール一覧において
このうちRaspberry Pi Imagerで最もはまりやすいのが
hostname: zero2
manage_etc_hosts: true
上記のmanage_」/etc/を変えようが、hostnamectlを実行しようが常にcloud-initの設定が優先されるのです。cloud-initをそのままにホスト名を変えたければ、/boot/」hostname」