今回のお題は、animationプロパティを使う。transitionプロパティよりも細かくつくり込めるので、
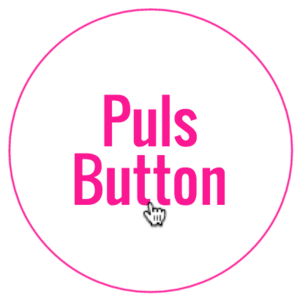
円形の縁取りを与えたボタン
ボタンのテキストのフォントには、<script>要素で-prefix-freeを読み込んである
<link href="https://fonts.googleapis.com/css?family=Oswald" rel="stylesheet">

<script src="lib/prefixfree.min.js"></script>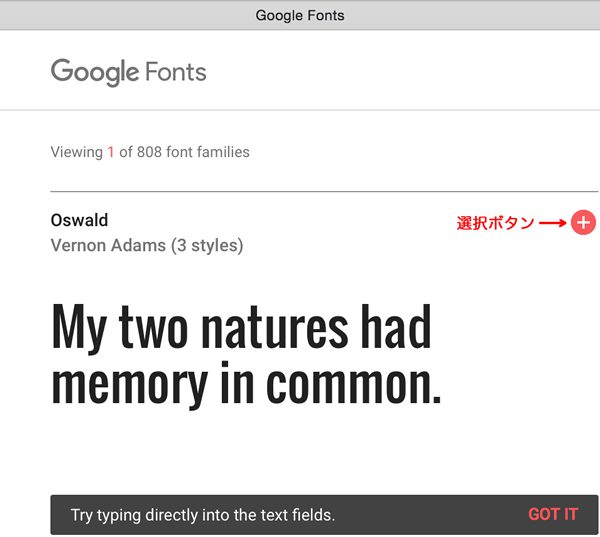
<body>要素にはつぎのコード1のように、<div>要素class属性"button")<a>要素class属性"button-item")<span>要素にテキストを書き加えた。
<div class="button">
    <a class="button-item" href="#">
        <span>Puls Button</span>
    </a>
</div><style>要素に以下のコード2のCSSを定めると、:before擬似要素で加えた。borderプロパティを与えるとともに、border-radiusプロパティの値を50%とすることで円形にしている。

.button {
    position: absolute;
    display: flex;
    align-items: center;
    top: 50%;
    left: 50%;
    margin-left: -80px;
    margin-top: -80px;
    width: 160px;
    height: 160px;
    text-align: center;
}
.button:before {
    position: absolute;
    content: "";
    top: 0;
    left: 0;
    width: 160px;
    height: 160px;
    border: 1px solid deeppink;
    border-radius: 50%;
}
.button-item {
    color: deeppink;
    font-size: 40px;
    font-family: 'Oswald', sans-serif;
    line-height: 1em;
    text-decoration: none;
}
.button span {
    position: absolute;
    top: 1em;
}
ボタンの円形の縁取りを鼓動のようにアニメーションさせる
それでは、class属性"button"):hover擬似クラス)、:before擬似要素に、animationプロパティを定める。@keyframes規則transformプロパティにscale()関数で伸縮させて、
.button:hover:before {
    animation: pop 0.5s;
}

@keyframes pop {
    0% {
        transform: scale(1);
    }
    50% {
        transform: scale(1.2);
    }
    90% {
        transform: scale(0.9);
    }
    100% {
        transform: scale(1);
    }
}
.button {
    position: absolute;
    display: flex;
    align-items: center;
    top: 50%;
    left: 50%;
    margin-left: -80px;
    margin-top: -80px;
    width: 160px;
    height: 160px;
    text-align: center;
}
.button:before {
    position: absolute;
    content: "";
    top: 0;
    left: 0;
    width: 160px;
    height: 160px;
    border: 1px solid deeppink;
    border-radius: 50%;
}
.button:hover:before {
    animation: pop 0.5s;
}
@keyframes pop {
    0% {
        transform: scale(1);
    }
    50% {
        transform: scale(1.2);
    }
    90% {
        transform: scale(0.9);
    }
    100% {
        transform: scale(1);
    }
}
.button-item {
    color: deeppink;
    font-size: 40px;
    font-family: 'Oswald', sans-serif;
    line-height: 1em;
    text-decoration: none;
}
.button span {
    position: absolute;
    top: 1em;
}
塗りの円を中心から広げてアニメーションさせる
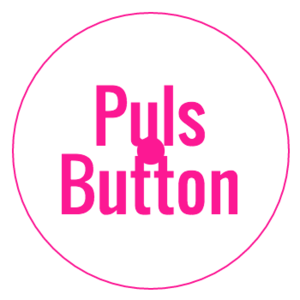
:after擬似要素でもうひとつ塗りの円を加える。線が塗りになるほかは、:beforeと同じ初期設定だ。それを、transformプロパティにscale()関数で小さく縮めておく
.button:before, .button:after {
    /* 初期設定 */
}
.button:after {
    background-color: deeppink;
    transform: scale(0.1);
}
塗りの円の:after擬似要素にanimationプロパティで、@keyframes規則opacityプロパティは0にしておく。アニメーションには伸縮に加え、opacityプロパティ)animation-fill-modeプロパティをforwardsにすると、
.button:after {

    opacity: 0;
    transform: scale(0.1);
}

.button:hover:after {
    animation: pulse 0.5s;
    animation-fill-mode: forwards;
}

@keyframes pulse {
    50% {
        transform: scale(1.2);
        opacity: 1;
    }
    70% {
        transform: scale(0.9);
        opacity: 1;
    }
    100% {
        transform: scale(1);
        opacity: 1;
    }
}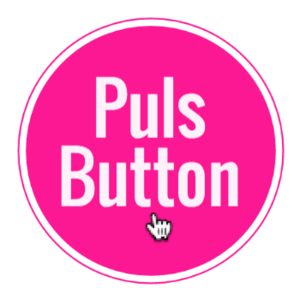
さらに、<span>要素)transitionプロパティでつぎのようにちょっとしたアニメーションを加える。マウスポインタを重ねると、z-indexプロパティを定めた。
.button span {

    z-index: 1;
    transition: 0.5s;
}
.button:hover span {
    color: white;
    transform: translateY(-5px);
}これでボタンにマウスポインタを重ねると、@keyframes規則のキーフレームの定めが細かいとはいえ、
.button {
    position: absolute;
    display: flex;
    align-items: center;
    top: 50%;
    left: 50%;
    margin-left: -80px;
    margin-top: -80px;
    width: 160px;
    height: 160px;
    text-align: center;
}
.button:before, .button:after {
    position: absolute;
    content: "";
    top: 0;
    left: 0;
    width: 160px;
    height: 160px;
    border: 1px solid deeppink;
    border-radius: 50%;
}
.button:after {
    background-color: deeppink;
    opacity: 0;
    transform: scale(0.1);
}
.button:hover:before {
    animation: pop 0.5s;
}
.button:hover:after {
    animation: pulse 0.5s;
    animation-fill-mode: forwards;
}
@keyframes pop {
    0% {
        transform: scale(1);
    }
    50% {
        transform: scale(1.2);
    }
    90% {
        transform: scale(0.9);
    }
    100% {
        transform: scale(1);
    }
}
@keyframes pulse {
    50% {
        transform: scale(1.2);
        opacity: 1;
    }
    70% {
        transform: scale(0.9);
        opacity: 1;
    }
    100% {
        transform: scale(1);
        opacity: 1;
    }
}
.button-item {
    color: deeppink;
    font-size: 40px;
    font-family: 'Oswald', sans-serif;
    line-height: 1em;
    text-decoration: none;
}
.button span {
    position: absolute;
    top: 1em;
    z-index: 1;
    transition: 0.5s;
}
.button:hover span {
    color: white;
    transform: translateY(-5px);
}


