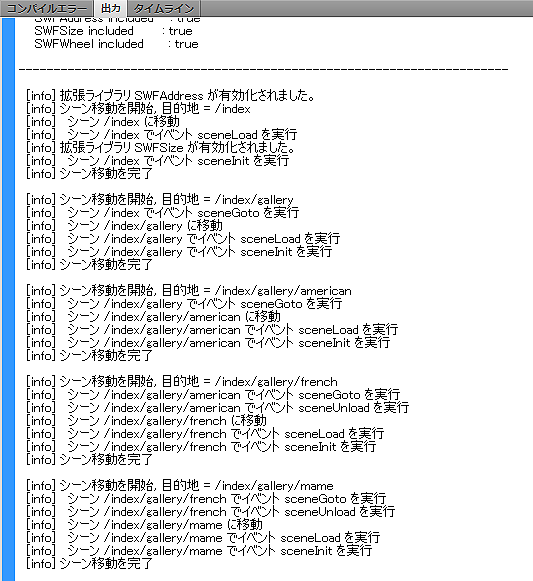
前回は、
シーンの作成
まず、
// シーンを作成します。
var gallery:SceneObject = new SceneObject();
// シーンに名前を設定します。
gallery.name = "gallery";
// シーンをルートに追加します。
manager.root.addScene( gallery );
子シーンの作成
続いて、
作成するシーンは、
// americanシーンを作成します。
var american:SceneObject = new SceneObject();
// シーンの名前を設定します。
american.name = "american";
// シーンをgalleryに追加します。
gallery.addScene( american );// frenchシーンを作成します。
var french:SceneObject = new SceneObject();
// シーンの名前を設定します。
french.name = "french";
// シーンをgalleryに追加します。
gallery.addScene( french);// mameシーンを作成します。
var mame:SceneObject = new SceneObject();
// シーンの名前を設定します。
mame.name = "mame";
// シーンをgalleryに追加します。
gallery.addScene( mame);これで、
ボタンの作成
それでは、
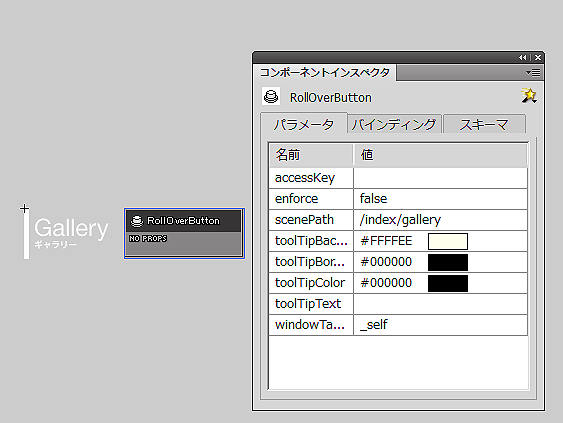
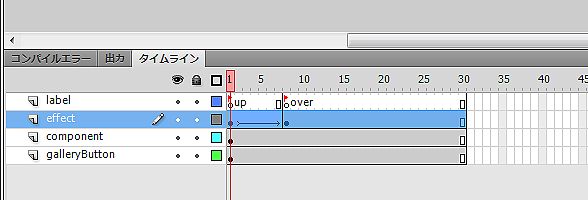
ロールオーバーの設定
「GalleryButton」
ボタンの表示
ボタンの設定が完了したら、
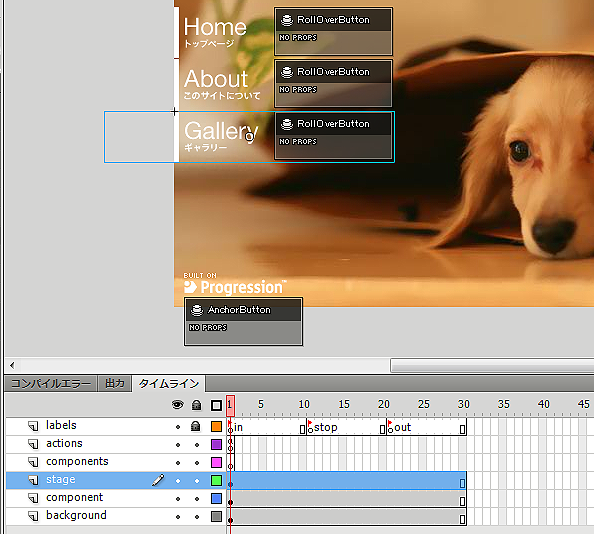
設置が完了したら、
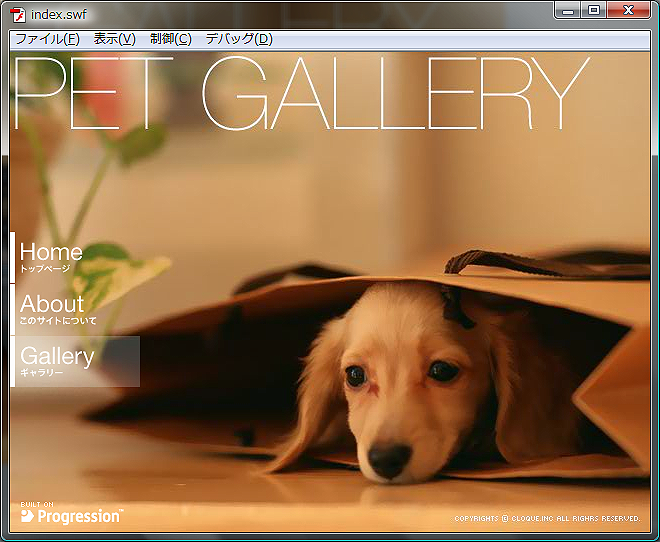
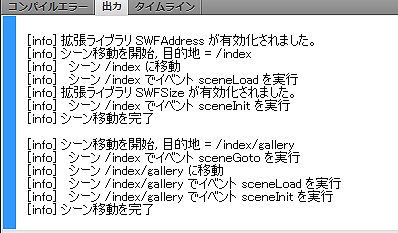
表示されている
表示オブジェクトのアニメーション設定
続いて、
簡単なアニメーションの設定を行いましょう。
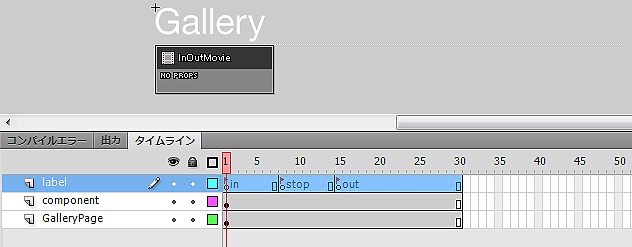
次に、
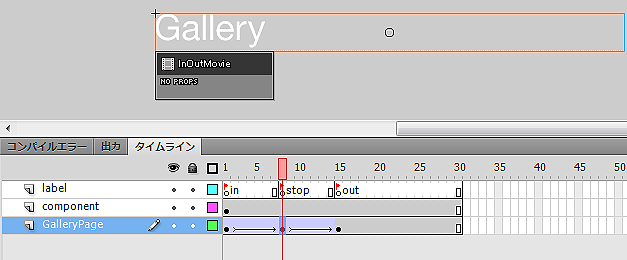
表示設定
設定が完了したら、
// galleryPageを作成します。
var galleryPage:GalleryPage = new GalleryPage();
galleryPage.x = 151;
galleryPage.y = 114;
次に、
// galleryPage の表示設定を行います。
gallery.onSceneLoad = function():void {
  this.addCommand(
    new AddChild( this.container , galleryPage )
  );
}

// galleryPage の削除設定を行います。
gallery.onSceneUnload = function():void {
  this.addCommand(
    new RemoveChild( this.container , galleryPage )
  );
}
「gallery」
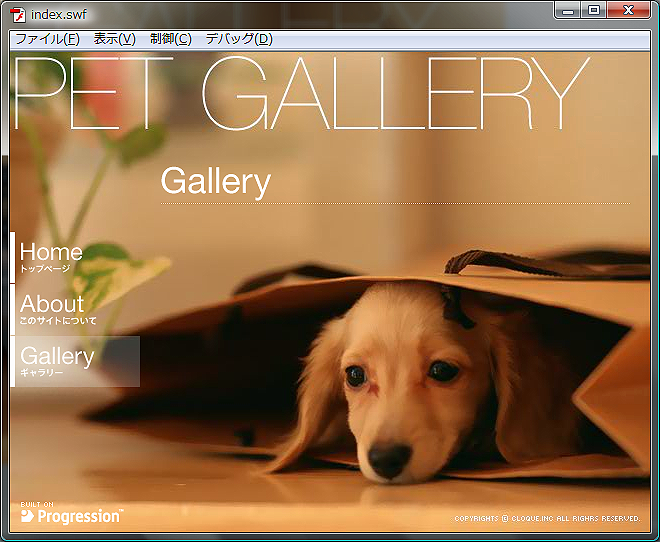
ボタンの設定
「gallery」
AmericanButton
まず
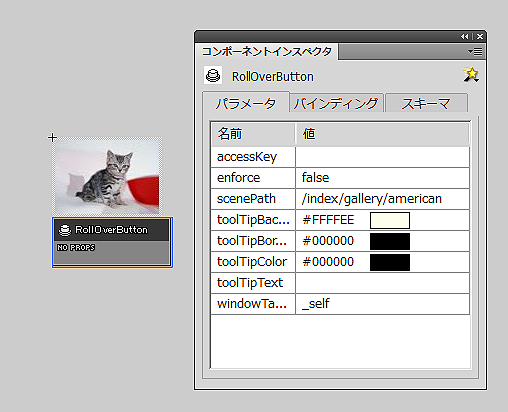
ここでは、
FrenchButton
次に、
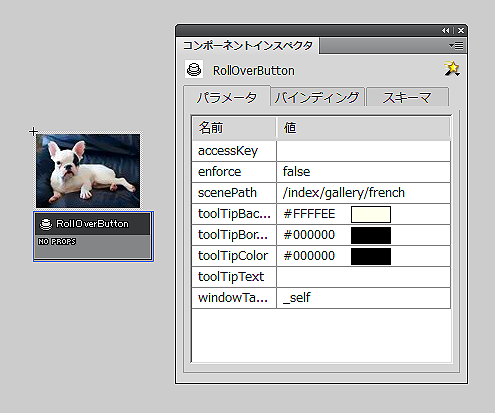
MameButton
最後に
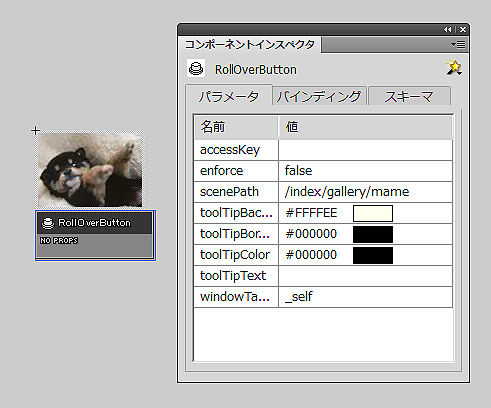
ボタンの表示
ボタンの設定が完了したら、
表示設定の前には、
// ボタンインスタンスを生成します。
var americanButton:AmericanButton = new AmericanButton();
americanButton.x = 150;
americanButton.y = 161;
// ボタンインスタンスを生成します。
var frenchButton:FrenchButton = new FrenchButton();
frenchButton.x = 270;
frenchButton.y = 161;
// ボタンインスタンスを生成します。
var mameButton:MameButton = new MameButton();
mameButton.x = 390;
mameButton.y = 161;
表示設定の際に使用するイベントハンドラメソッドは
// galleryPage の表示設定を行います。
gallery.onSceneLoad = function():void {
  this.addCommand(
    new AddChild( this.container , galleryPage ),
    new AddChild( this.container ,  americanButton ),
    new AddChild( this.container ,  frenchButton ),
    new AddChild( this.container ,  mameButton )
  );
}
ボタンの削除処理も
// galleryPage の削除設定を行います。
gallery.onSceneUnload = function():void {
  this.addCommand(
    new RemoveChild( this.container , galleryPage ),
    new RemoveChild( this.container ,  americanButton ),
    new RemoveChild( this.container ,  frenchButton ),
    new RemoveChild( this.container ,  mameButton )
  );
}
設定が完了したら、
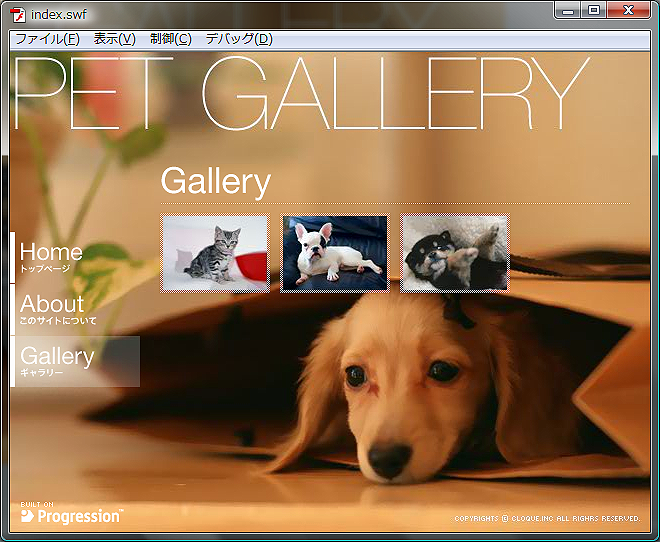
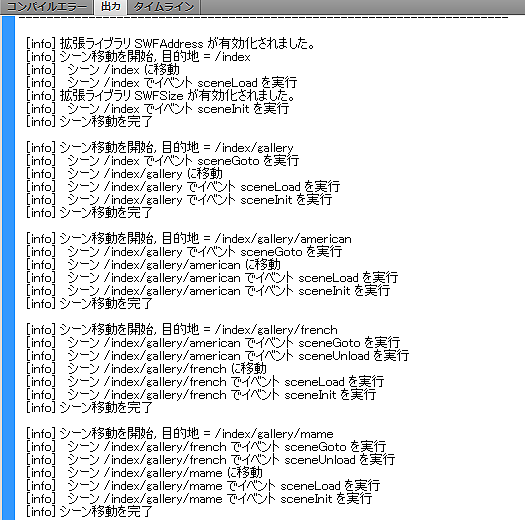
表示されているボタンをクリックすると、
表示オブジェクトの設定
「動物の詳細」
まずは
// インスタンスを生成します。
var photoBG:PhotoBG = new PhotoBG();
photoBG.x = 0;
photoBG.y = 0;
// インスタンスを生成します。
var photoBase:PhotoBase = new PhotoBase();
photoBase.x = 100;
photoBase.y = 20;
// インスタンスを生成します。
var closeButton:CloseButton = new CloseButton();
closeButton.x = 507;
closeButton.y = 30;
// インスタンスを生成します。
var backButton:BackButton = new BackButton();
backButton.x = 30;
backButton.y = 220;
// インスタンスを生成します。
var nextButton:NextButton = new NextButton();
nextButton.x = 570;
nextButton.y = 220;
// インスタンスを生成します。
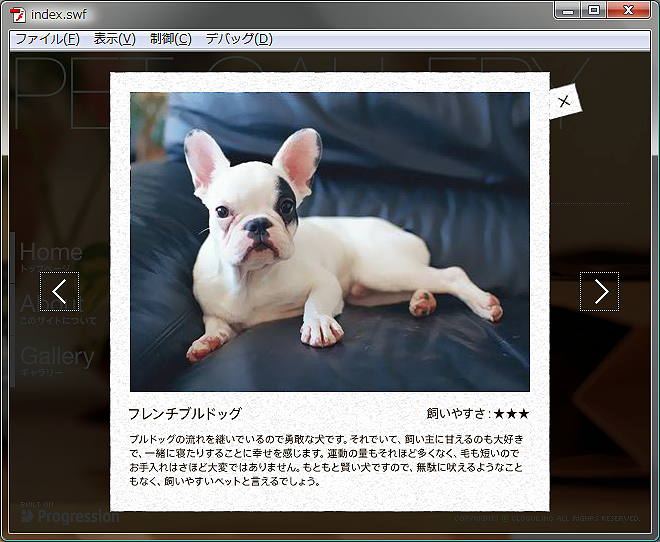
var americanPhoto:AmericanPhoto = new AmericanPhoto();
americanPhoto.x = 120;
americanPhoto.y = 40;
// インスタンスを生成します。
var americanText:AmericanText = new AmericanText();
americanText.x = 119;
americanText.y = 354;
次に、
// americanシーンの表示オブジェクトの表示設定を行います。
american.onSceneLoad = function():void {
  this.addCommand(
    new AddChild( this.container , photoBG ),
    new AddChild( this.container , closeButton ),
    new AddChild( this.container , photoBase ),
    new AddChild( this.container , backButton ),
    new AddChild( this.container , nextButton ),
    new AddChild( this.container , americanPhoto ),
    new AddChild( this.container , americanText )
  );
}
続いて、
// americanシーンの表示オブジェクトの削除設定を行います。
american.onSceneUnload = function():void {
  this.addCommand(
    new RemoveChild( this.container , photoBG ),
    new RemoveChild( this.container , closeButton ),
    new RemoveChild( this.container , photoBase ),
    new RemoveChild( this.container , backButton ),
    new RemoveChild( this.container , nextButton ),
    new RemoveChild( this.container , americanPhoto ),
    new RemoveChild( this.container , americanText )
  );
}
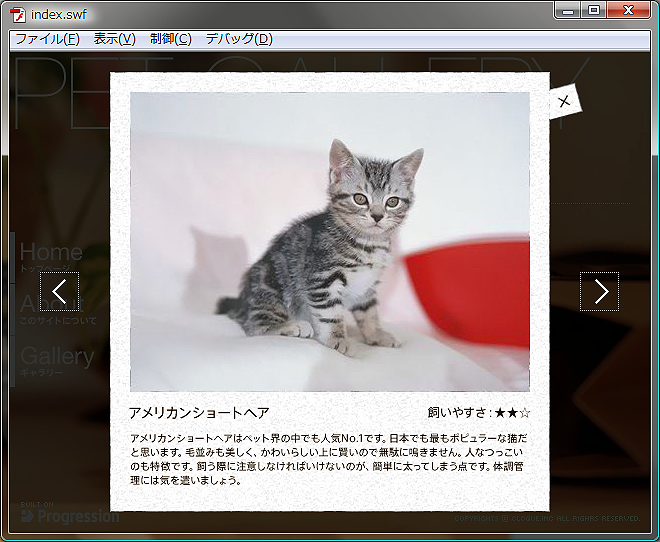
ここまで設定が完了したら、
表示オブジェクトの削除設定
表示オブジェクトの削除処理は設定しましたが、
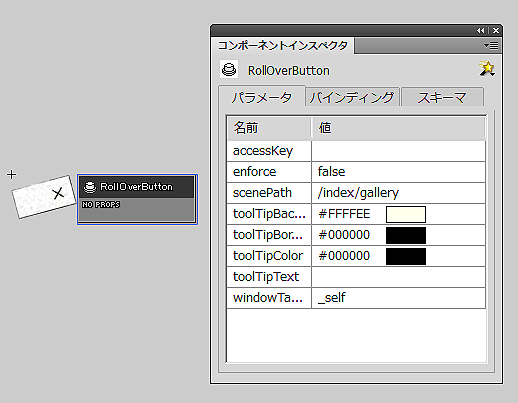
設定が完了したら、
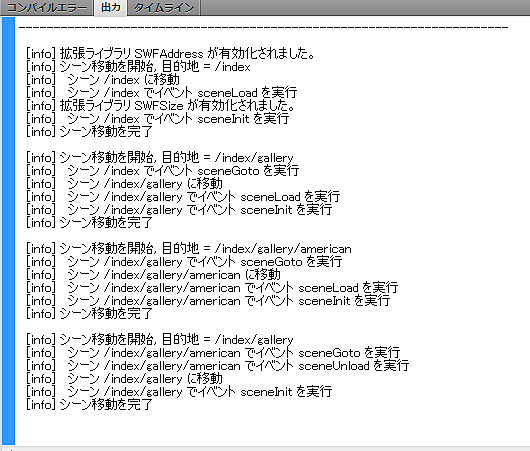
上位シーンでの削除処理
「american」
「gallery」
// 共通部分の表示オブジェクトの削除処理を行います。
gallery.onSceneInit = function():void {
  this.addCommand(
    new RemoveChild( this.container , photoBG ),
    new RemoveChild( this.container , closeButton ),
    new RemoveChild( this.container , photoBase ),
    new RemoveChild( this.container , backButton ),
    new RemoveChild( this.container , nextButton )
  );
}
「american」
// americanシーンの表示オブジェクトの削除設定を行います。
american.onSceneUnload = function():void {
  this.addCommand(
	new RemoveChild( this.container , americanPhoto ),
	new RemoveChild( this.container , americanText )
  );
}
設定が完了したら、
「american」
// インスタンスを生成します。
var frenchPhoto:FrenchPhoto = new FrenchPhoto ();
frenchPhoto.x = 120;
frenchPhoto.y = 40;
// インスタンスを生成します。
var frenchText:FrenchText = new FrenchText ();
frenchText.x = 119;
frenchText.y = 354;

// frenchシーンの表示オブジェクトの表示設定を行います。
french.onSceneLoad = function():void {
  this.addCommand(
    new AddChild( this.container , photoBG ),
    new AddChild( this.container , closeButton ),
    new AddChild( this.container , photoBase ),
    new AddChild( this.container , backButton ),
    new AddChild( this.container , nextButton ),
    new AddChild( this.container , frenchPhoto ),
    new AddChild( this.container , frenchText )
  );
}

// frenchシーンの表示オブジェクトの削除設定を行います。
french.onSceneUnload = function():void {
  this.addCommand(
    new RemoveChild( this.container , frenchPhoto ),
    new RemoveChild( this.container , frenchText )
  );
} // インスタンスを生成します。
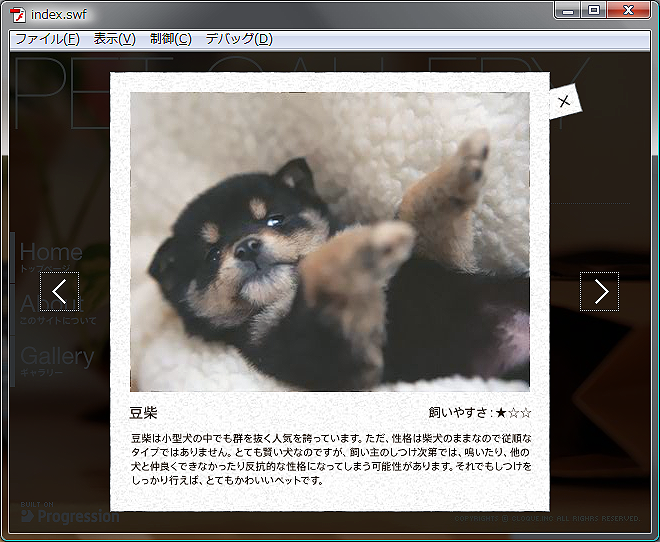
var mamePhoto:MamePhoto = new MamePhoto ();
mamePhoto.x = 120;
mamePhoto.y = 40;
// インスタンスを生成します。
var mameText:MameText = new MameText ();
mameText.x = 119;
mameText.y = 354;
// mameシーンの表示オブジェクトの表示設定を行います。
mame.onSceneLoad = function():void {
this.addCommand(
new AddChild( this.container , photoBG ),
new AddChild( this.container , closeButton ),
new AddChild( this.container , photoBase ),
new AddChild( this.container , backButton ),
new AddChild( this.container , nextButton ),
new AddChild( this.container , mamePhoto),
new AddChild( this.container , mameText)
);
}
// mameシーンの表示オブジェクトの削除設定を行います。
mame.onSceneUnload = function():void {
this.addCommand(
new RemoveChild( this.container , mamePhoto),
new RemoveChild( this.container , mameText)
);
}設定が完了したら、
ボタンの設定
今は、
まず、
「scenePath」
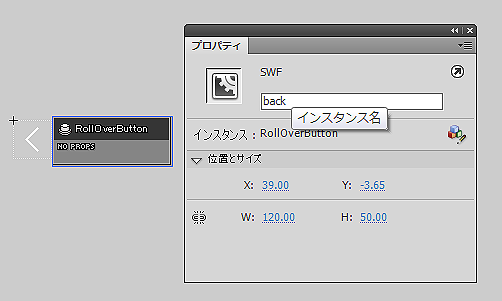
「RollOverButton」
次に
設定が完了したら、
「BackButton」
まず、
// americanシーンの表示オブジェクトの表示設定を行います。
american.onSceneLoad = function():void {
  // scenePath の設定を行います。
  backButton.back.scenePath = "/index/gallery/mame";
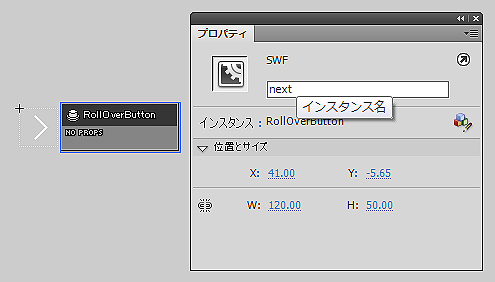
  nextButton.next.scenePath = "/index/gallery/french";
  this.addCommand(
    new AddChild( this.container , photoBG ),
    new AddChild( this.container , closeButton ),
    new AddChild( this.container , photoBase ),
    new AddChild( this.container , backButton ),
    new AddChild( this.container , nextButton ),
    new AddChild( this.container , americanPhoto ),
    new AddChild( this.container , americanText )
  );
}
続いて
// frenchシーンの表示オブジェクトの表示設定を行います。
french.onSceneLoad = function():void {
  // scenePath の設定を行います。
  backButton.back.scenePath = "/index/gallery/american";
  nextButton.next.scenePath = "/index/gallery/mame";
  this.addCommand(
    new AddChild( this.container , photoBG ),
    new AddChild( this.container , closeButton ),
    new AddChild( this.container , photoBase ),
    new AddChild( this.container , backButton ),
    new AddChild( this.container , nextButton ),
    new AddChild( this.container , frenchPhoto ),
    new AddChild( this.container , frenchText )
  );
}
最後に、
// mameシーンの表示オブジェクトの表示設定を行います。
mame.onSceneLoad = function():void {
  // scenePath の設定を行います。
  backButton.back.scenePath = "/index/gallery/french";
  nextButton.next.scenePath = "/index/gallery/american";
  this.addCommand(
    new AddChild( this.container , photoBG ),
    new AddChild( this.container , closeButton ),
    new AddChild( this.container , photoBase ),
    new AddChild( this.container , backButton ),
    new AddChild( this.container , nextButton ),
    new AddChild( this.container , mamePhoto ),
    new AddChild( this.container , mameText )
  );
}
設定が完了したら、
プリローダーの作成
最後にプリローダーを作成しましょう。[Project_
「Preloader」
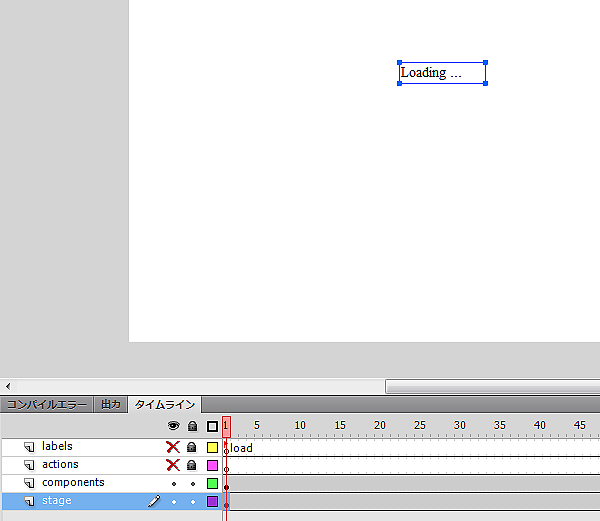
読み込み中に表示するテキストをステージに貼り付けましょう。
「init」
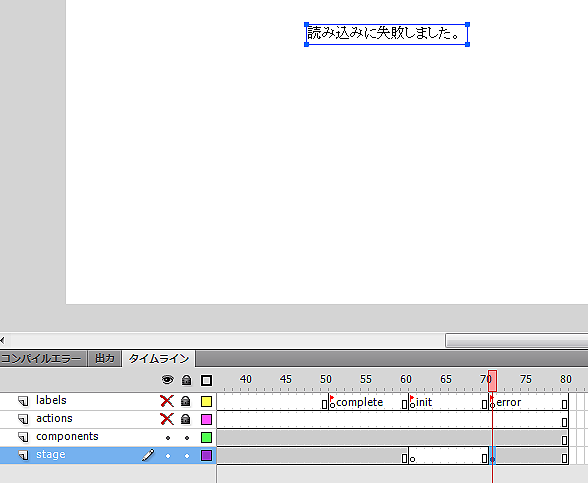
次に読み込み状態を示す
続いて、
作成したシンボルをステージに貼り付けていきましょう。タイムライン上に
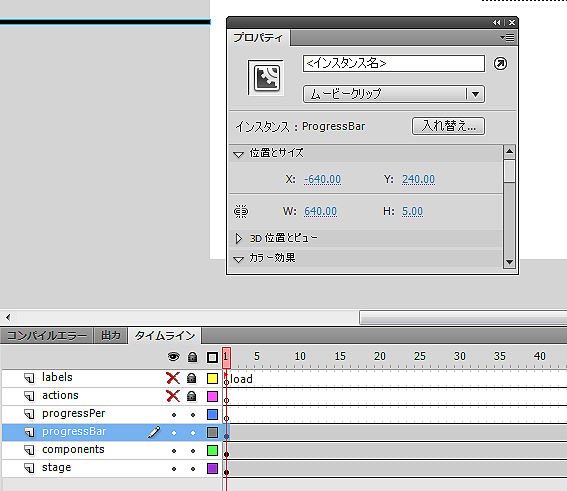
読み込み状態に合わせて、
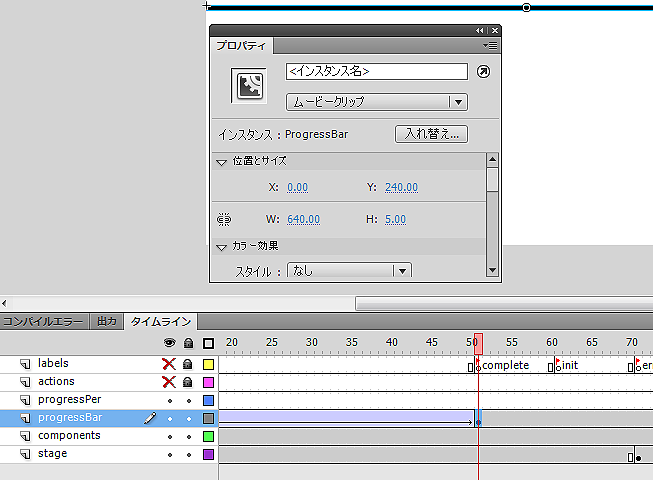
読み込みが完了すると、
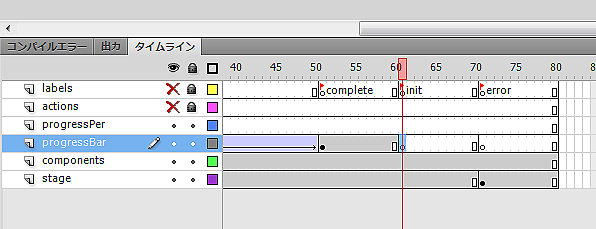
続いて、
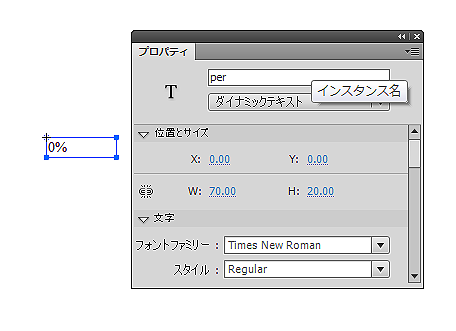
「ProgressPer」
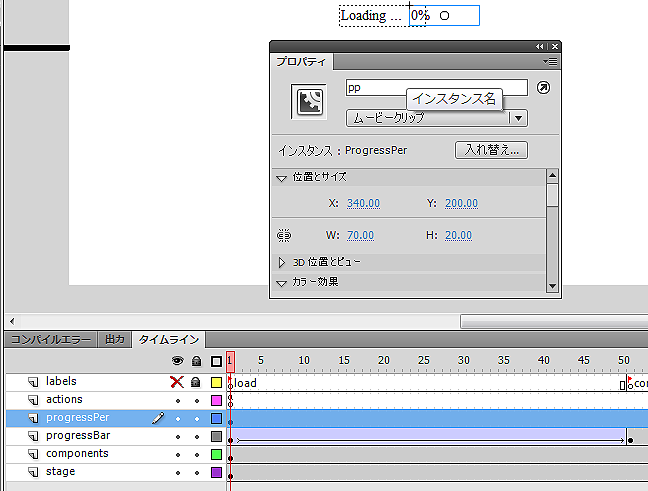
読み込み状態をパーセントで表示するために、
読み込み開始から読み込み完了までは、
// フレーム毎にテキストの値を変更します。
addEventListener( Event.ENTER_FRAME , perText );

function perText( e:Event ):void {
  // 現在フレームが50を超えたら、イベントリスナーを削除します。
  if( currentFrame > 50 ) {
    removeEventListener( Event.ENTER_FRAME , perText );
  }
  // ProgressPerにパーセンテージを設定します。
  pp.per.text = String( currentFrame  * 2 - 2 ) + "%";
}
設定が完了したら、
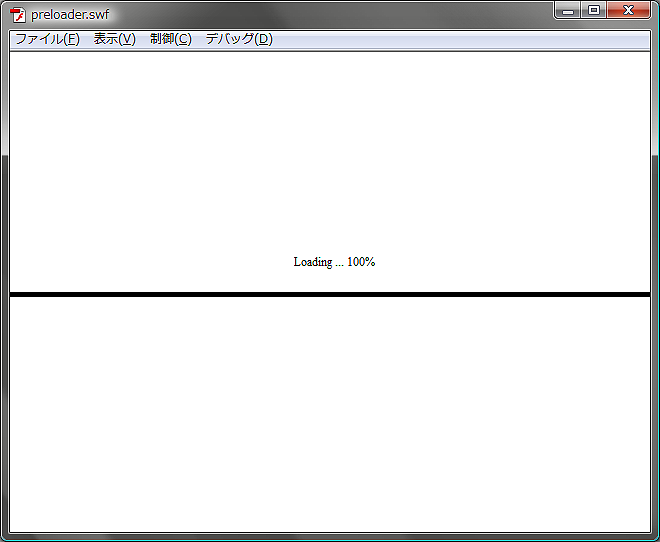
プリローダーの読み込み状態が100%になると、
まとめ
タイムラインスタイルでの制作は以上になります。今回の制作では、
なお、


