


導入
Processingはインタラクティブなソフトウェア作品を手軽に作ることができます。ユーザの働きかけに応じて様子の変化するソフトウェアは楽しいものです。あるいはユーザは何もせず、
ここではProcessingでアニメーションを作る方法とその仕組み、
展開
アニメーションの仕掛け、draw()メソッド
アニメーションの仕掛けは次の通りです。
sketchの中にdraw()メソッドがある場合、
draw()メソッドは人間にとって大変な早さで繰り返し呼び出されますから、
アニメーションの滑らかさの単位、fps
アニメーションを滑らかにするか、
fpsは"Frame Par Seconds"の頭文字を取っています。Frameは、
変更が必要ならば、
sketch実行の準備に使うsetup()メソッド
setup()メソッドは、
例えば、
void setup(){
  frameRate(30);
}
[作業] Processingとともにインストールされているサンプルコードの中からParticles.を選択します。メニューバーから、
アニメーションの例
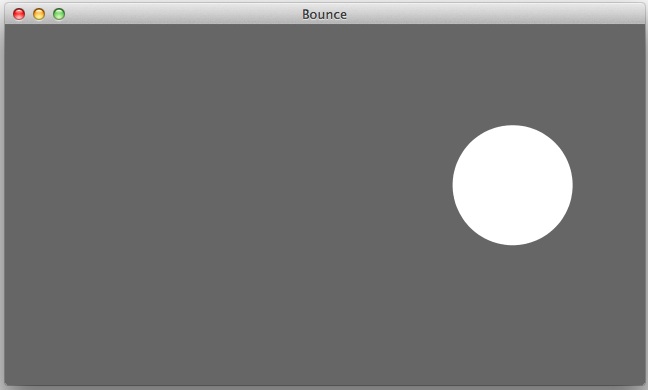
ソフトウェアがひとりで動き続けるアニメーションの例を紹介します。これはProcessingに付属のサンプルBounce.です。白い丸がディスプレイウィンドウの中をゆっくり動き、
setup()メソッドでディスプレイウィンドウの設定と丸のスタート地点を設定しています。draw()メソッドで背景と丸を描いています。丸の位置はdraw()メソッド実行の度に再計算しています
/**
 * Bounce.
 *
 * When the shape hits the edge of the window, it reverses its direction.
 */

int rad = 60;        // Width of the shape
float xpos, ypos;    // Starting position of shape

float xspeed = 2.8;  // Speed of the shape
float yspeed = 2.2;  // Speed of the shape

int xdirection = 1;  // Left or Right
int ydirection = 1;  // Top to Bottom


void setup()
{
  size(640, 360);
  noStroke();
  frameRate(30);
  ellipseMode(RADIUS);
  // Set the starting position of the shape
  xpos = width/2;
  ypos = height/2;
}

void draw()
{
  background(102);

  // Update the position of the shape
  xpos = xpos + ( xspeed * xdirection );
  ypos = ypos + ( yspeed * ydirection );

  // Test to see if the shape exceeds the boundaries of the screen
  // If it does, reverse its direction by multiplying by -1
  if (xpos > width-rad || xpos < rad) {
    xdirection *= -1;
  }
  if (ypos > height-rad || ypos < rad) {
    ydirection *= -1;
  }

  // Draw the shape
  ellipse(xpos, ypos, rad, rad);
}
このsketchを実行すると、
マウスに対応する
マウス操作に応じて動作が変化するコード例を紹介します。
Getting Started with ProcessingMakeCircles.を打ち込んで実行しましょう。
void setup() {
  size(480, 120);
  smooth();
}

void draw() {
  if (mousePressed) {
    fill(0);
  } else {
    fill(255);
  }
  ellipse(mouseX, mouseY, 80, 80);
}
実行
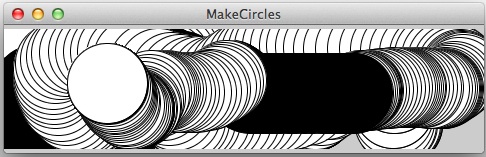
このsketchは、
draw()メソッドの中のif文の構造に注目してください。
キーボードに対応する
次のsketchを実行すると、
システム変数keyPressedは、
システム変数keyには、
システム変数とは、
// Example 05-20 from "Getting Started with Processing"
// by Reas & Fry. O'Reilly / Make 2010

void setup() {
  size(120, 120);
  smooth();
}

void draw() {
  background(204);
  if (keyPressed) {
    if ((key == 'h') || (key == 'H')) {
      line(30, 60, 90, 60);
    }
    if ((key == 'n') || (key == 'N')) {
      line(30, 20, 90, 100);
    }
  }
  line(30, 20, 30, 100);
  line(90, 20, 90, 100);
}演習
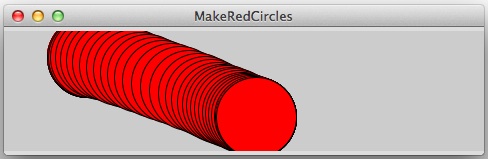
演習1(難易度:easy)
MakeCircles.を変更して、MakeRedCircles.としてください。
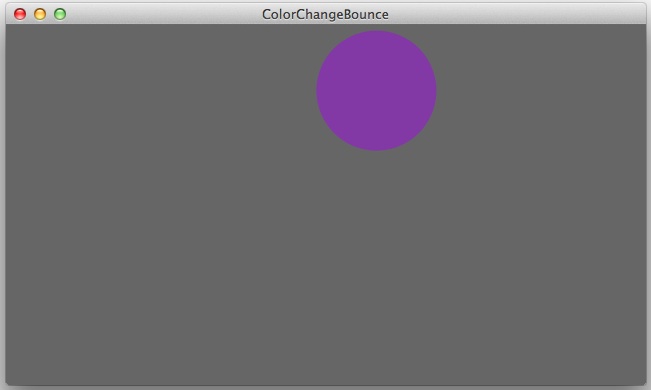
演習2(難易度:easy)
Bounce.を変更して、ColorChangeBounce.としてください。
演習3(難易度:middle)
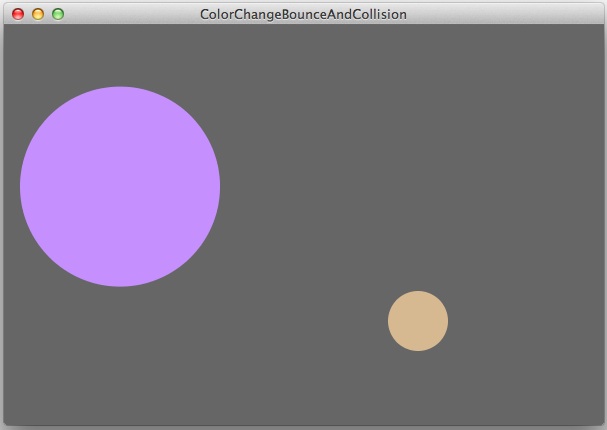
ディスプレイウィンドウの大きさは幅600ピクセル、円Aと円Bが衝突したら円Bが跳ね返り、 円Aと円Bが衝突したら互いに跳ね返り、ColorChangeBounceAndCollision.にしてください。
まとめ
- Processingのsketchが連続的に動くしくみを学習しました。
- マウスとキーボードからの入力を取り扱う方法を学習しました。
学習の確認
それぞれの項目で、
- Processingのsketchを連続的に動かすしくみが理解できましたか?
- 理解できた。自分でコードを書くこともできる。
- 理解できた。しかし、
自分でコードを書くことはできない。 - 理解できない。
- Processingのsketchでマウスやキーボードを利用する方法がわかりましたか?
- わかった。自分でコードを書くこともできる。
- わかった。しかし、
自分でコードを書くことはできない。 - わからない。
- setup()メソッドとdraw()メソッドの働きを説明できますか?
- 説明できる。
- なんとなく分かったが、
言葉にできない。 - 本文を理解できなかった。
参考文献
- 『Getting Started with Processing』
(Casey Reas, Ben Fry著) - 邦訳は
『Processingをはじめよう』 (Casey Reas, Ben Fry 著、 船田巧 訳) です。
- 邦訳は