


今回は、Windows 11 Pro以上のエディションで使用できるHyper-Vにおいて、Ubuntu 24.
仮想マシン悲喜交々
仮想マシンは、本連載では第832回のようにVirtualBoxの紹介が多いのですが、他にUbuntuではlibvirtとそのフロントエンド
一方Windowsでは、やりたいことによってはVirtualBoxがそぐわない場合もあります。そしてHyper-VはPro以上のエディションで使用できるのですが、Homeでは使用できません。
Home/
そう考えると、Hyper-Vをもう一度見直す機会ではないかと考えます。Homeでも、差額を払ってProにアップデートするという手も使えます。
ただし、マイクロソフトはどう考えているのかというのはまた違った話で、第549回で紹介したHyper-Vの
というわけで、今回はその方法を紹介します。
Hyper-Vの有効化
Hyper-Vを有効にするには、
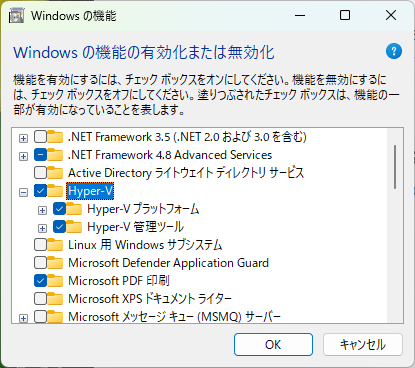
有効にできないこともありえますが、本記事はWindowsの使用方法を紹介するためのものではないため詳細を割愛します。
初期設定
Hyper-Vを有効にして再起動したら、
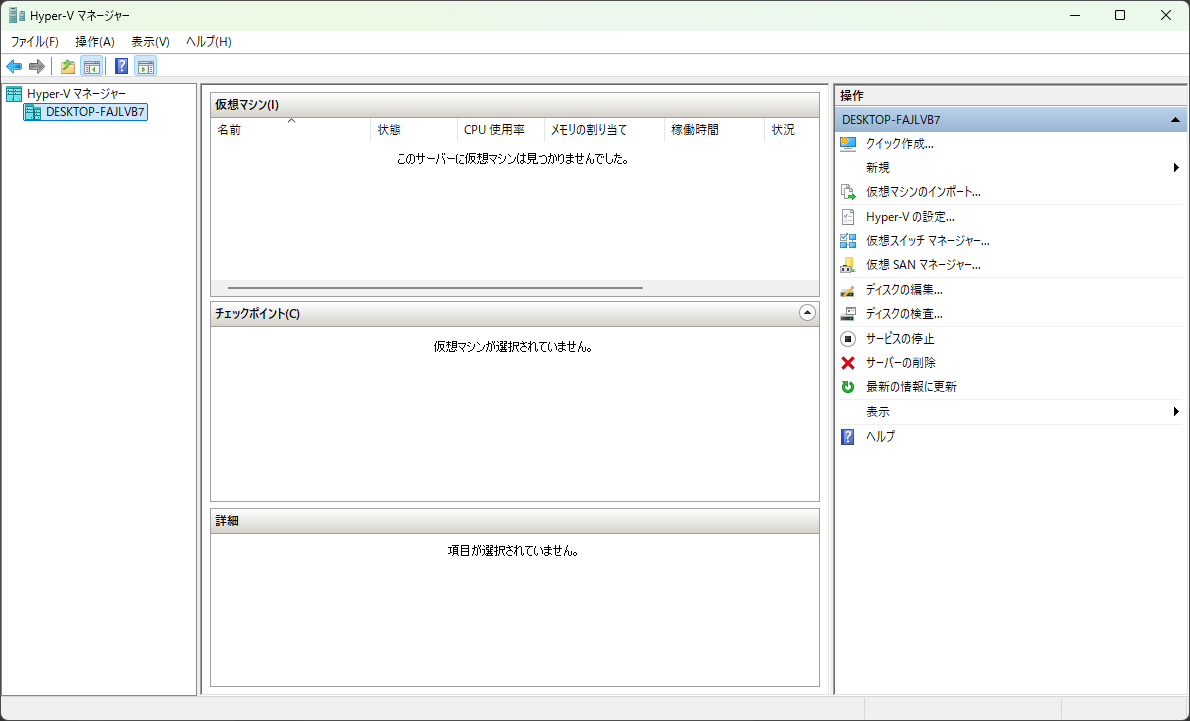
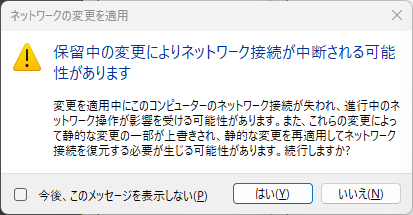
ブリッジネットワークを作成するため、
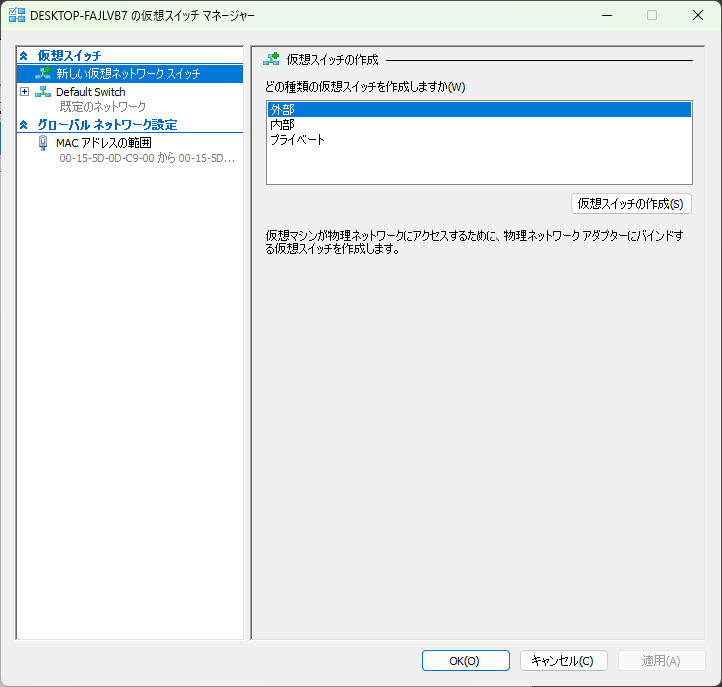
「どの種類の仮想スイッチを作成しますか」
「名前」
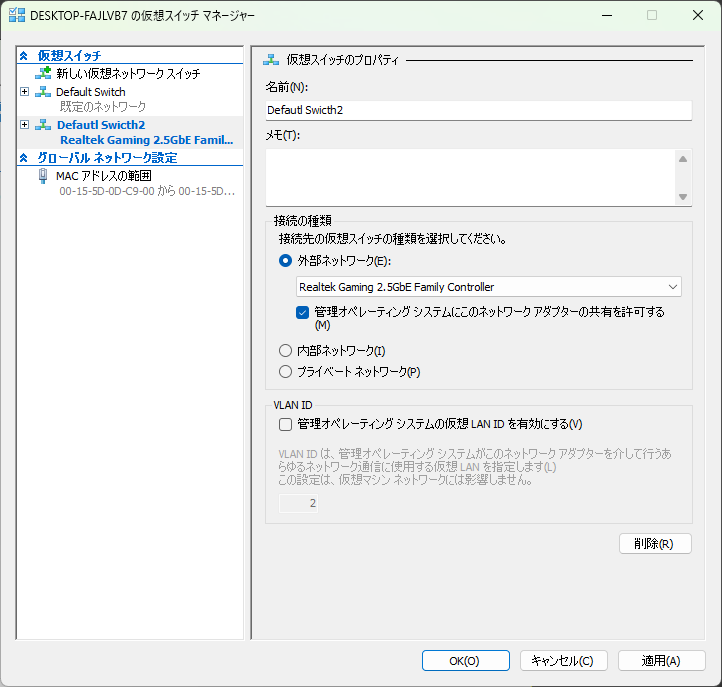
「適用」
仮想マシンの作成
Ubuntu ServerとUbuntuの仮想マシンの作り方をそれぞれ説明します。
Ubuntu Server
Hyper-Vの機能をうまく使うと、Windowsの起動とともに仮想マシンも起動し、シャットダウンとともに仮想マシンもシャットダウンできるようになります。これを活かすのはサーバーというわけで、最初のUbuntu Serverのセットアップ方法を紹介します。
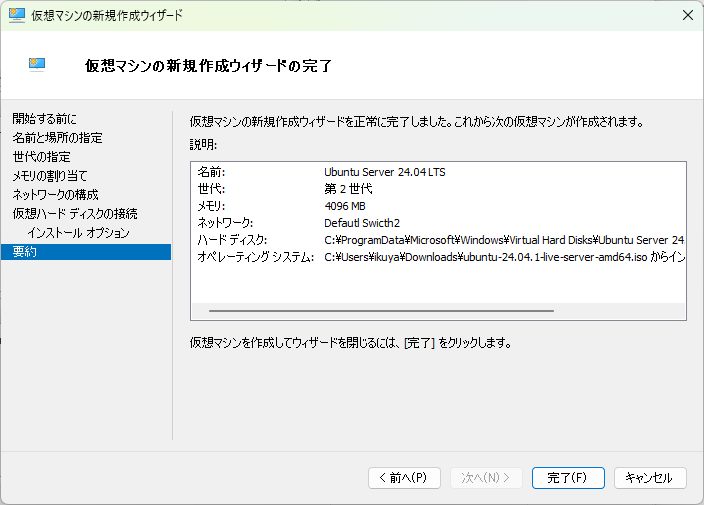
事前にUbuntu Server 24.
Hyper-Vマネージャーの
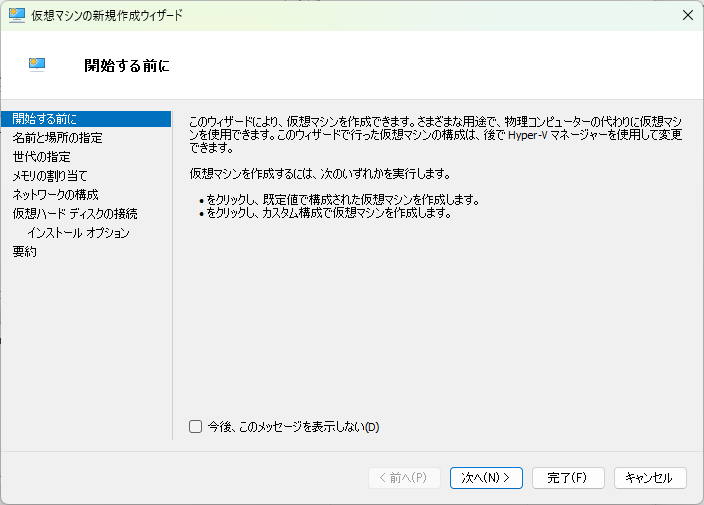
「次へ」
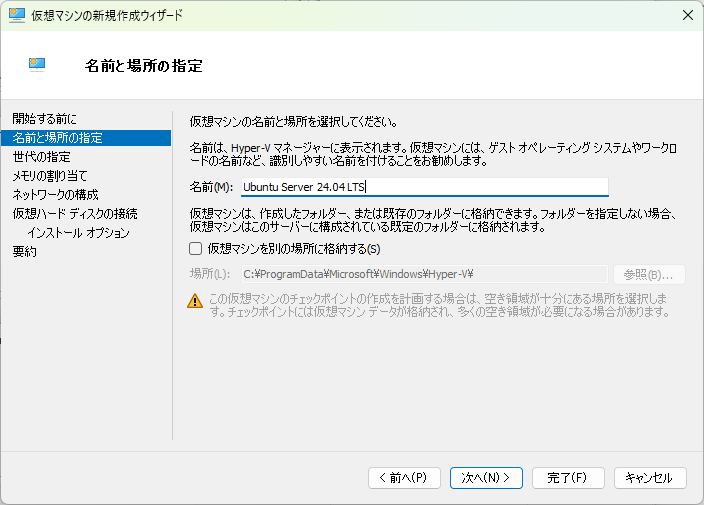
「次へ」
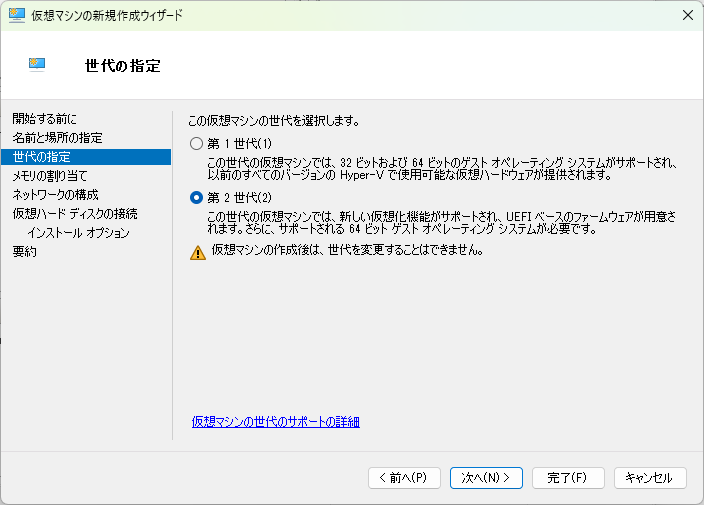
「次へ」
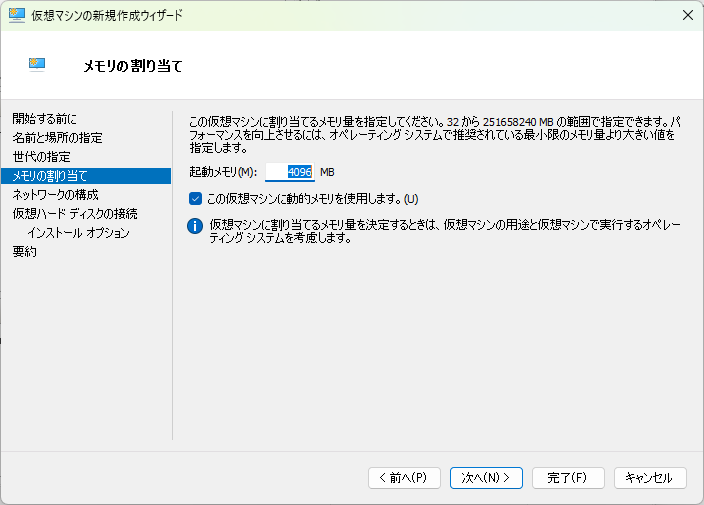
「次へ」
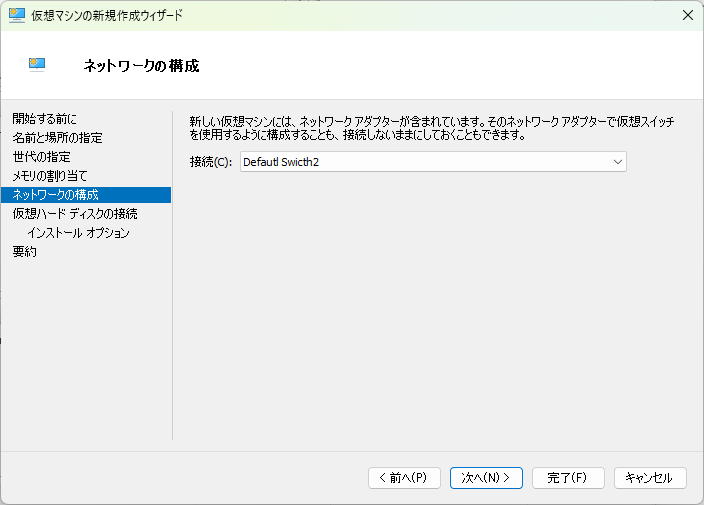
「次へ」
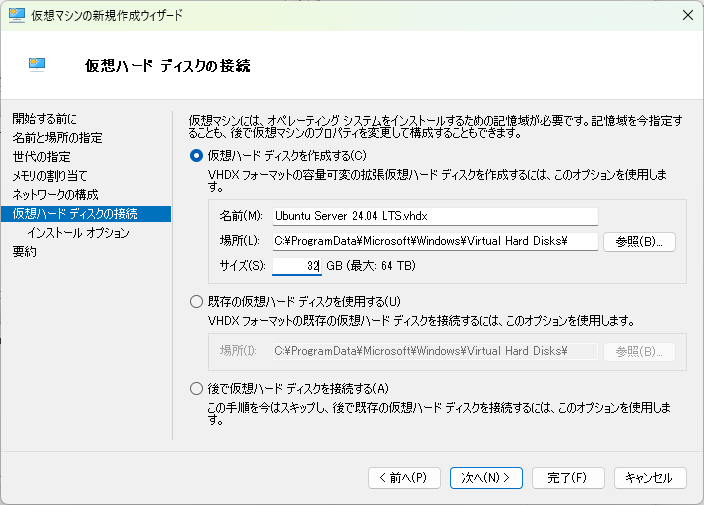
「次へ」

「次へ」
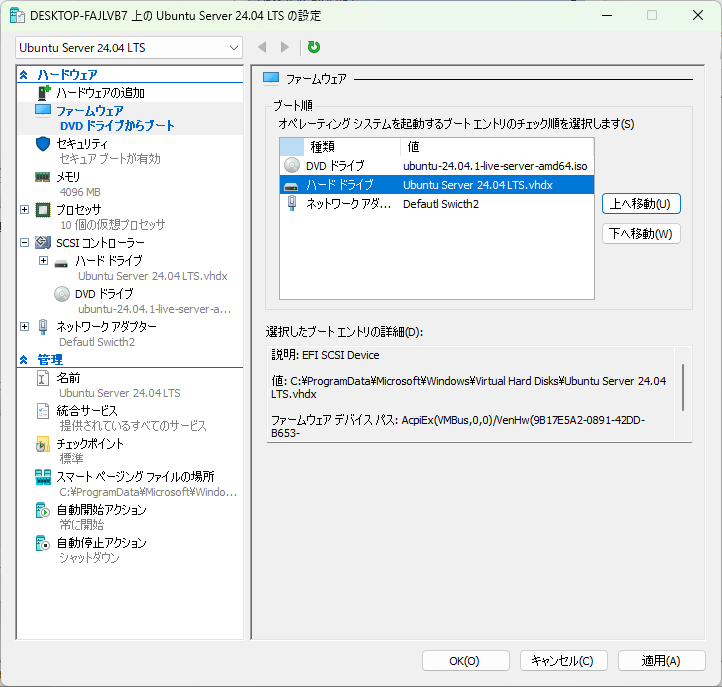
続けてHyper-Vマネージャーの作成した仮想マシンにある
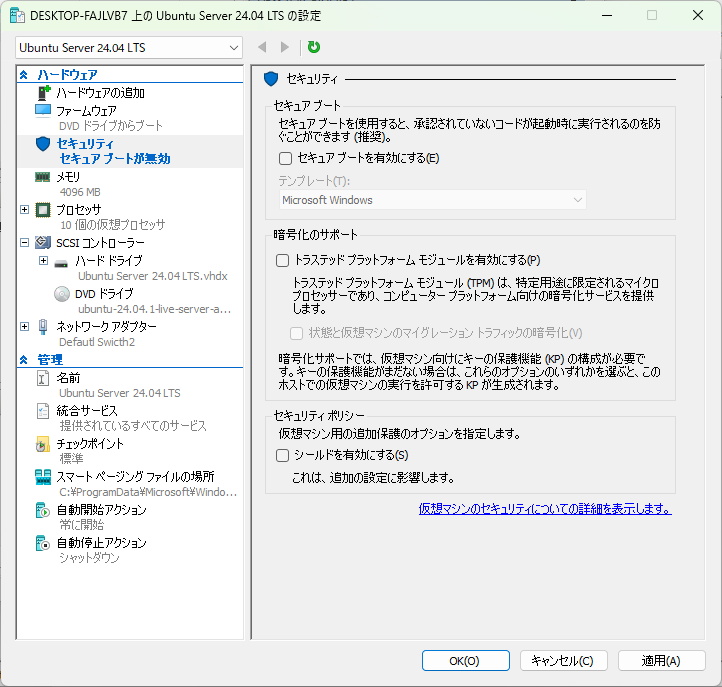
「セキュリティ」
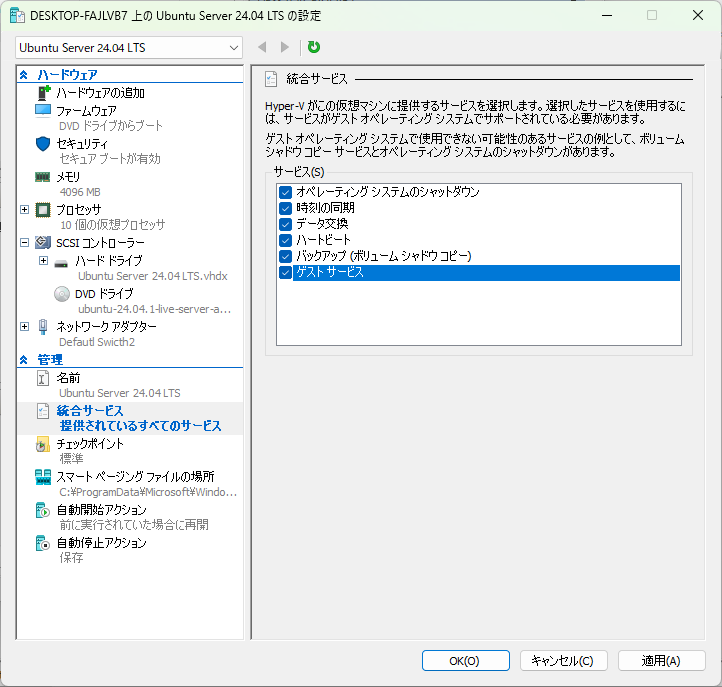
「管理」
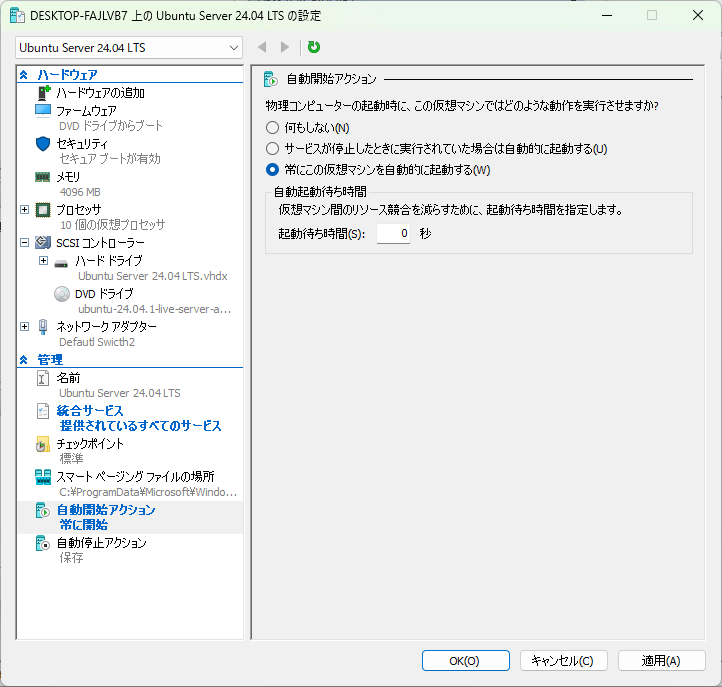
「自動開始アクション」
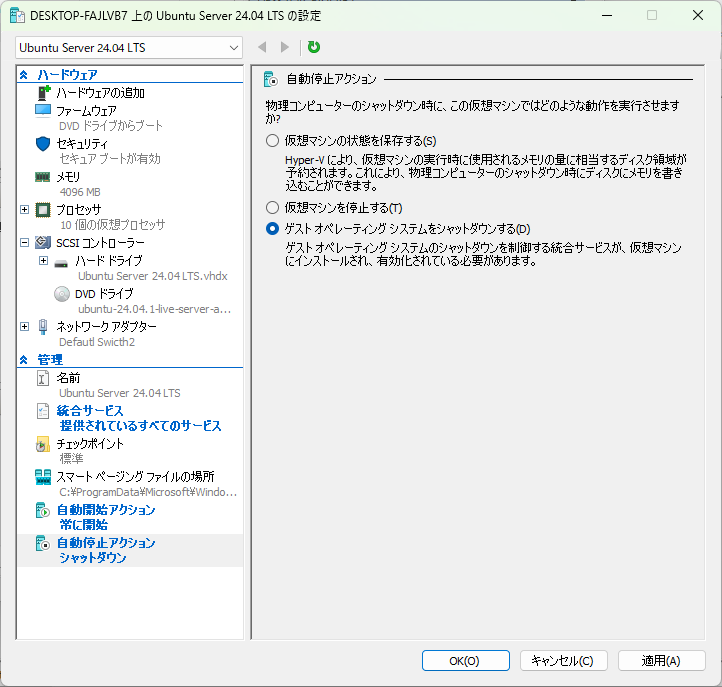
「自動停止アクション」
あとは仮想マシンを起動し、通常どおりインストールをしてください。インストール完了後、linux-cloud-tools-genericパッケージインストールし、再起動した後にゲストサービスが有効になります。これをもってWindowsの起動とともに仮想マシンも起動し、シャットダウンとともに仮想マシンもシャットダウンできるようになります。
Ubuntu
Ubuntuは、当然ですがおおむねUbuntu Serverと同じです。割り当てるメモリーと仮想ハードディスクの容量はサーバーよりも多くしたほうがいいとか、その程度の違いはあります。またWindowsのシャットダウン時にUbuntuもシャットダウンするのではなく、状態を保存したい場合は
なお、Ubuntuでは拡張セッションを有効にし、RDP経由でアクセスできます。こちらのスクリプトを取得して実行すればいいのですが、筆者が試した限りでは正しく動作しなかったので次の差分を適用してください。
--- install.sh.orig	2024-12-14 23:16:59.000000000 +0900
+++ install.sh	2024-12-15 00:41:58.000000000 +0900
@@ -85,14 +85,17 @@
 fi

 # Configure the policy xrdp session
-mkdir -p /etc/polkit-1/localauthority/50-local.d/
-cat > /etc/polkit-1/localauthority/50-local.d/45-allow-colord.pkla <<EOF
-[Allow Colord all Users]
-Identity=unix-user:*
-Action=org.freedesktop.color-manager.create-device;org.freedesktop.color-manager.create-profile;org.freedesktop.color-manager.delete-device;org.freedesktop.color-manager.delete-profile;org.freedesktop.color-manager.modify-device;org.freedesktop.color-manager.modify-profile
-ResultAny=no
-ResultInactive=no
-ResultActive=yes
+cat > /etc/polkit-1/localauthority.conf.d/02-allow-colord.conf <<EOF
+polkit.addRule(function(action, subject) {
+    if (action.id == "org.freedesktop.color-manager.create-device" ||
+        action.id == "org.freedesktop.color-manager.create-profile" ||
+        action.id == "org.freedesktop.color-manager.delete-device" ||
+        action.id == "org.freedesktop.color-manager.delete-profile" ||
+        action.id == "org.freedesktop.color-manager.modify-device" ||
+        action.id == "org.freedesktop.color-manager.modify-profile") {
+        return polkit.Result.YES;
+    }
+});
 EOF

 # reconfigure the service
要するにPolicyKitの設定方法が古いので、更新しています。
変更したinstall.を実行し、一旦仮想マシンをシャットダウンしたあとに管理者権限でPowerShellを起動し、次のコマンドを実行します
Set-VM -VMName "(仮想マシン名)" -EnhancedSessionTransportType HvSocket
Windows自体を再起動した後に拡張セッションが有効になり、リモートデスクトップ経由での接続ができるようになります。